Guest post by Dominik Grzelak, Dresden University of Technology, Germany
In my initial post about XR-PALS, I introduced a tool on reducing setup time for the Loco Positioning System (LPS). Over time, one very practical aspect remained: handling and mounting the LPS nodes themselves.
In this post, I would like to share a 3D-printable enclosure and mounting system for LPS nodes that emerged from daily use and was developed hand-in-hand with a technical designer friend. The goal was to make LPS nodes faster to deploy, and more robust in general; they have already withstood drops from heights of up to 2 m.
The 3D printable files are available here: https://github.com/bitcraze/bitcraze-mechanics/tree/master/LPS-node-case
Overview
The result is a two-part enclosure with dedicated mounting adapters, designed specifically around the LPS node form factor:
- Front shell: Protective enclosure with power button
- Back shell: Securely holds the LPS node PCB
- Mounting adapters: Enable quick mounting on poles or tripods in vertical or horizontal orientation
Assembly Instructions
Below are a few notes to get you started building the case:
- Print all three parts and buy the additional off-the-shelf hardware components
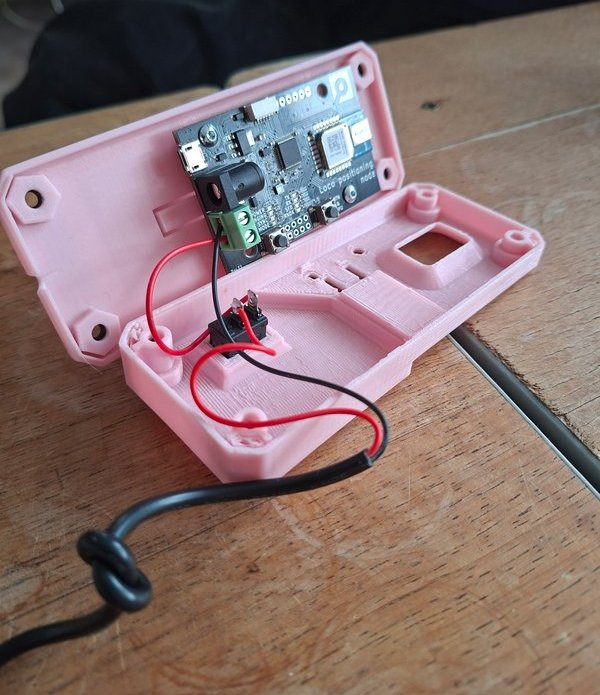
- Place the LPS node into the back part of the case.
- Install the toggle switch and ensure correct orientation.
- Connect and solder the USB power cable wires.
- Lay down the USB cable on top of the designated notch in the back part (tie a small knot to release the tension).
- Attach the front part and secure it with screws.
- Use the adapter (“slider”) to mount the case on a tripod or pole (with cable ties, for example).
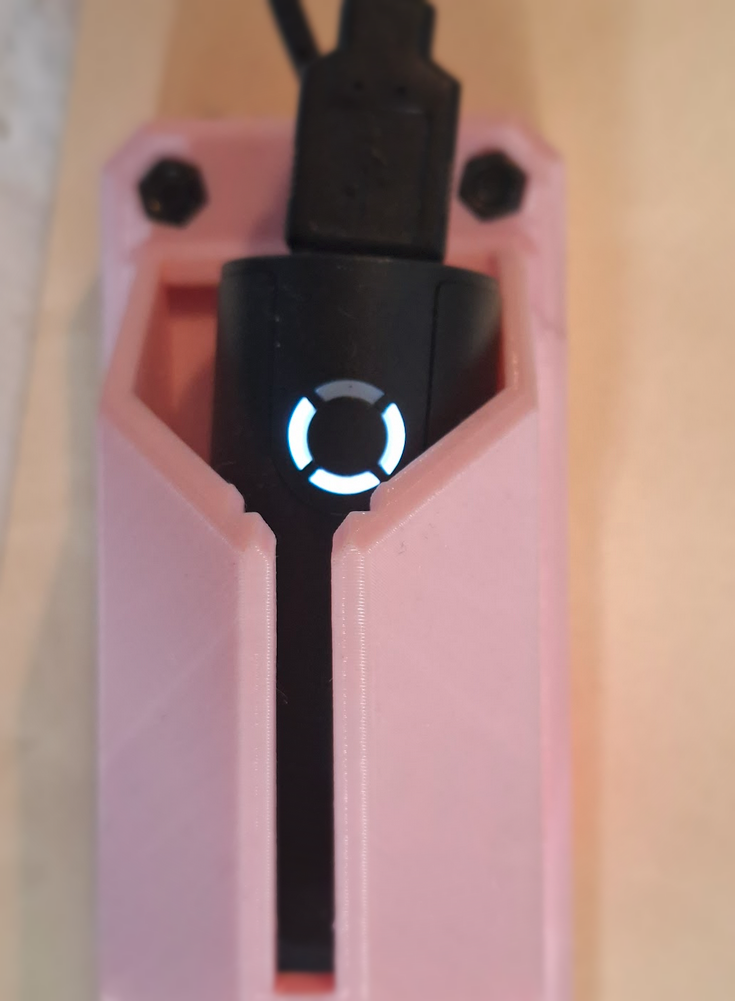
The USB power bank itself serves as the power indicator for the LPS node.
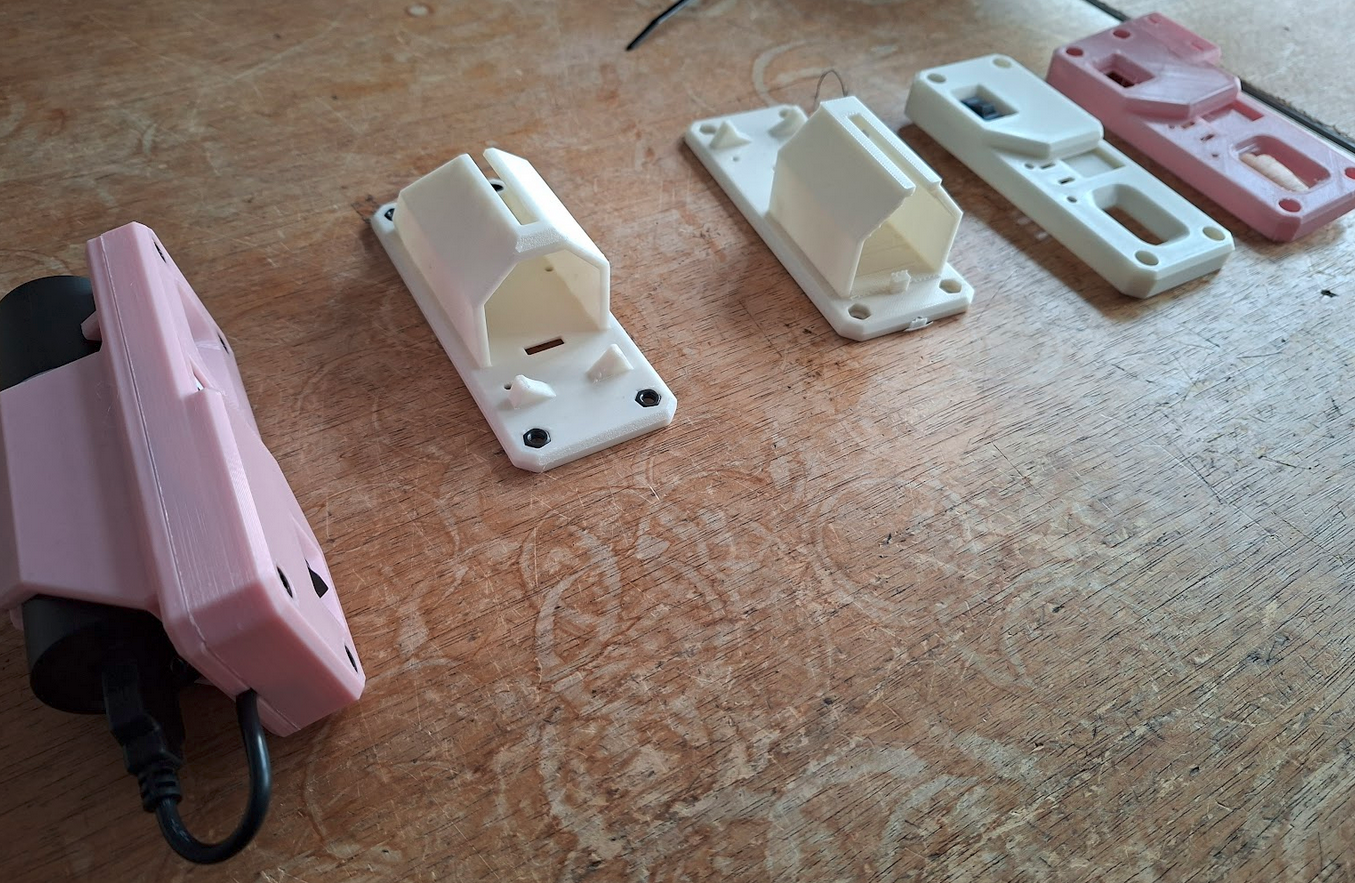
Evolution of the Case
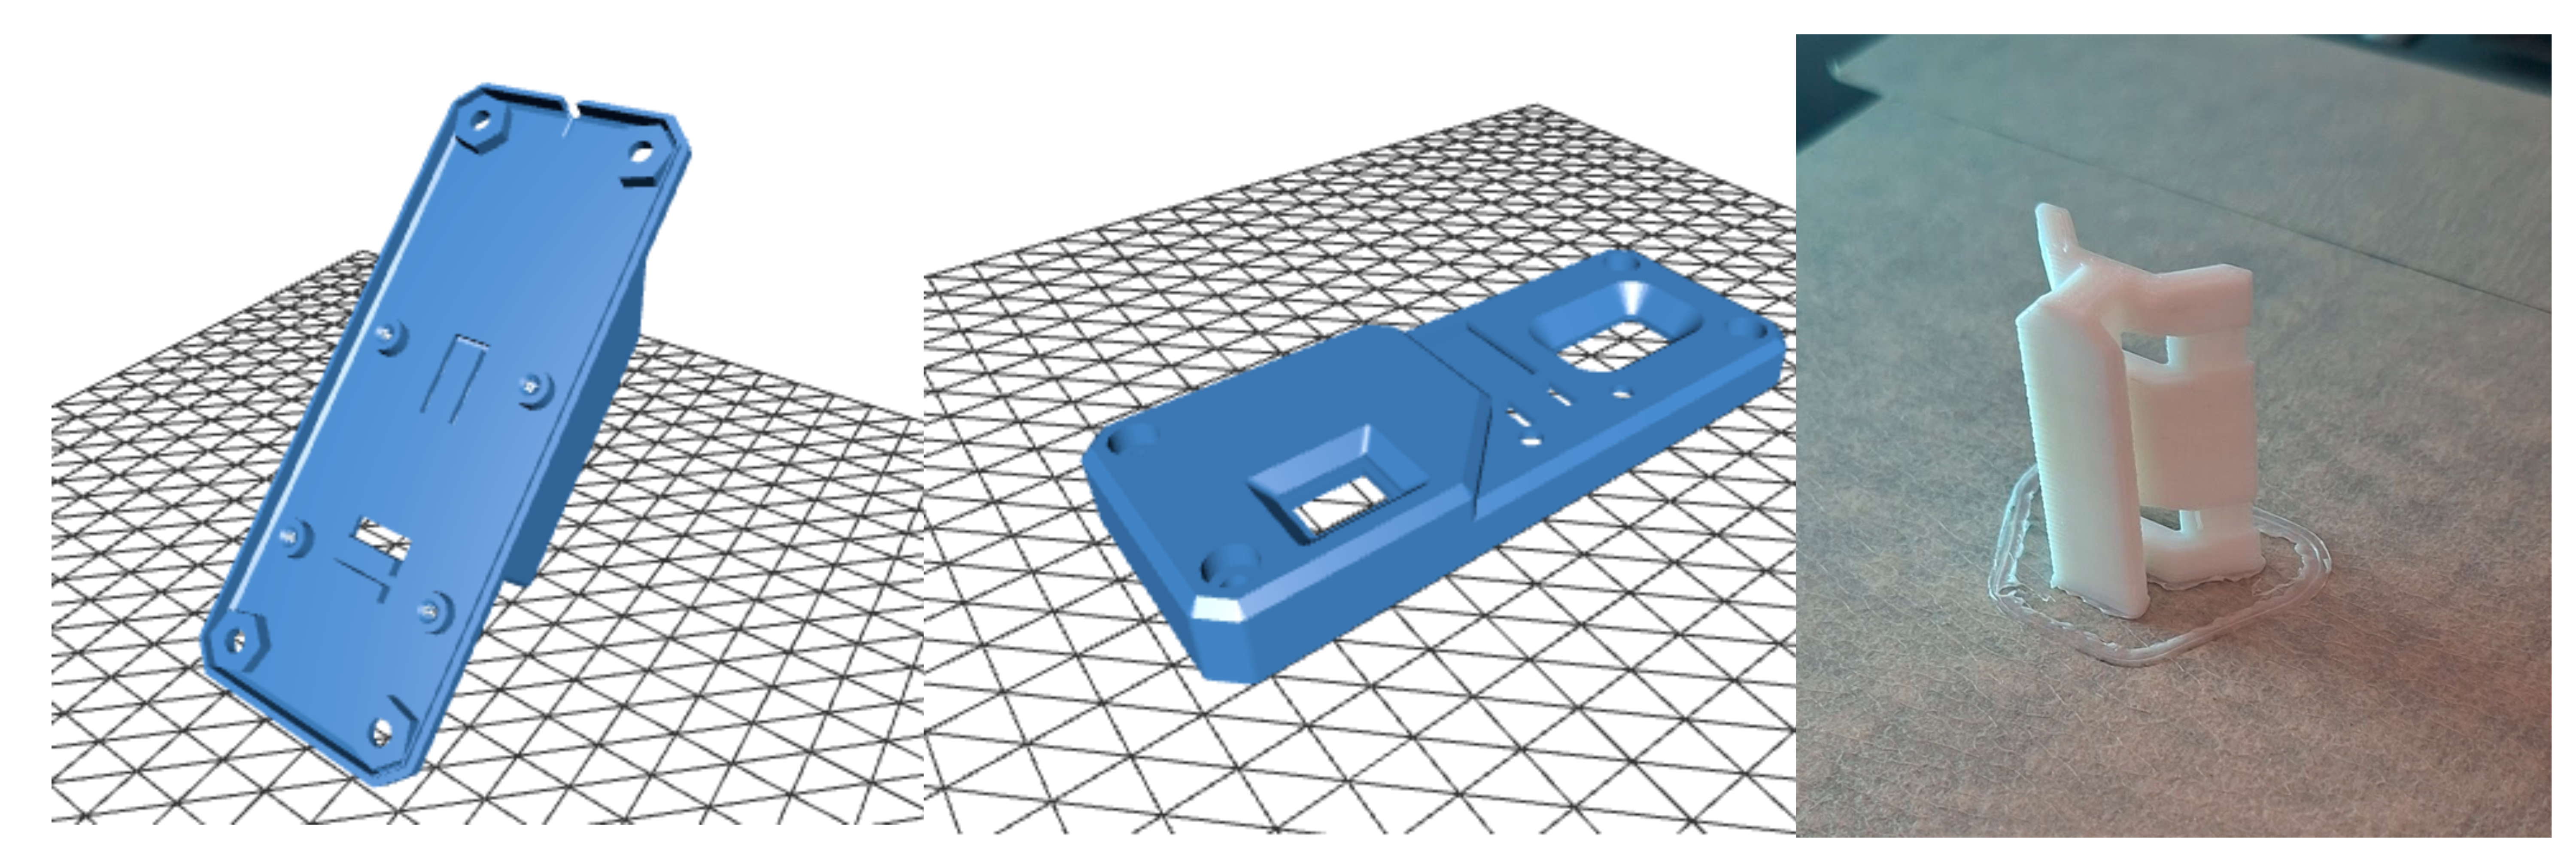
The design itself went through several iterations with adjustments.
In parallel, multiple design variations were explored to evaluate different approaches to mounting, cable routing, and overall form factor. Attention was paid to ensuring the parts print cleanly on common 3D printers without supports.
This process helped smooth out small usability issues and resulted in a design that is both easy to print and straightforward to use in practice.
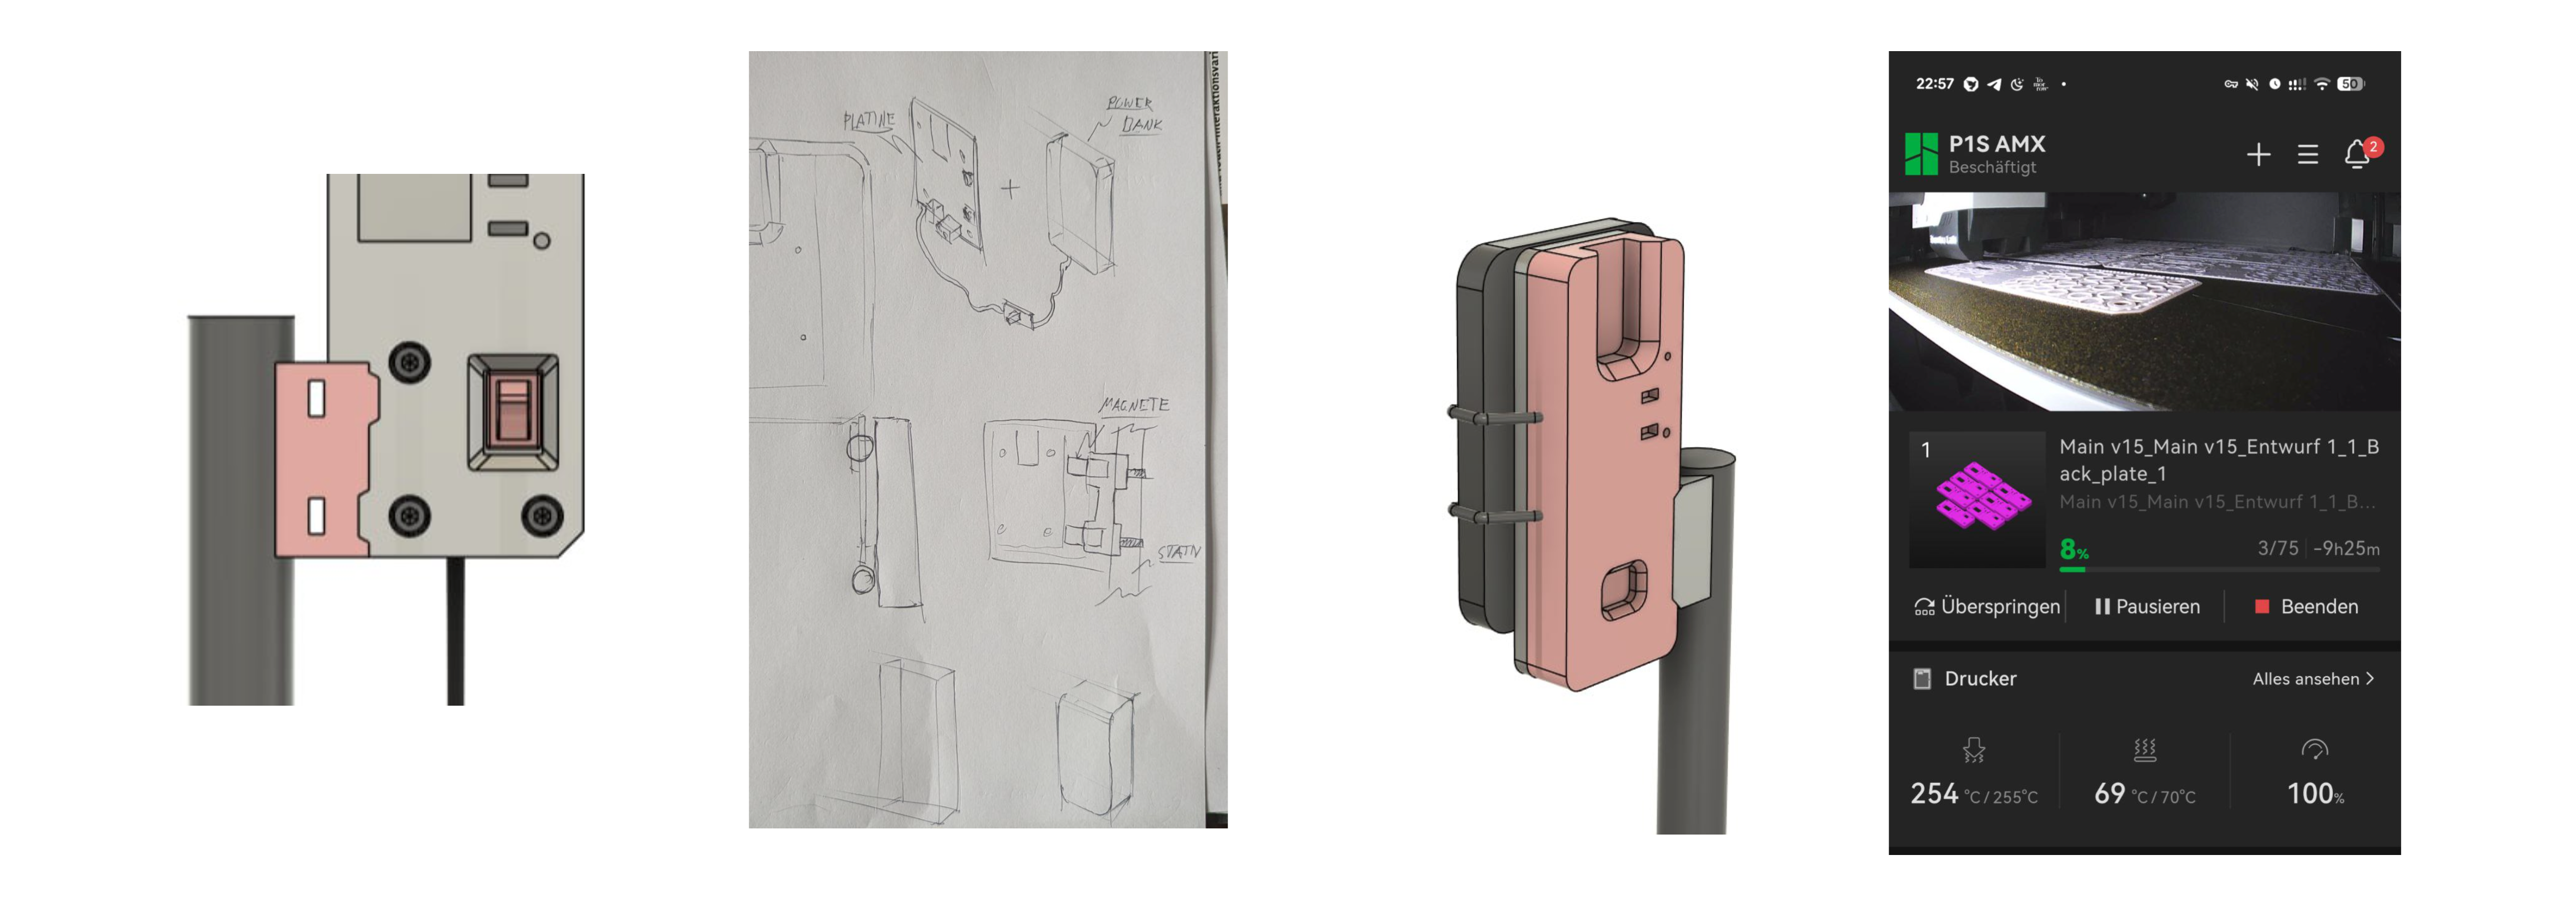
Vertical and Horizontal Mount Adapter
While the standard configuration mounts the enclosure vertically, a horizontal holder adapter has now been introduced. This provides additional flexibility depending on the experimental setup.
A short demonstration of the mounting system can be viewed here.
Conclusion
This enclosure and mounting system grew out of repeated practical use in changing indoor environments, and we hope it will be useful to others as well.
Feedback and ideas are always welcome. And by the way, if you print your own version, feel free to share photos of your setup!