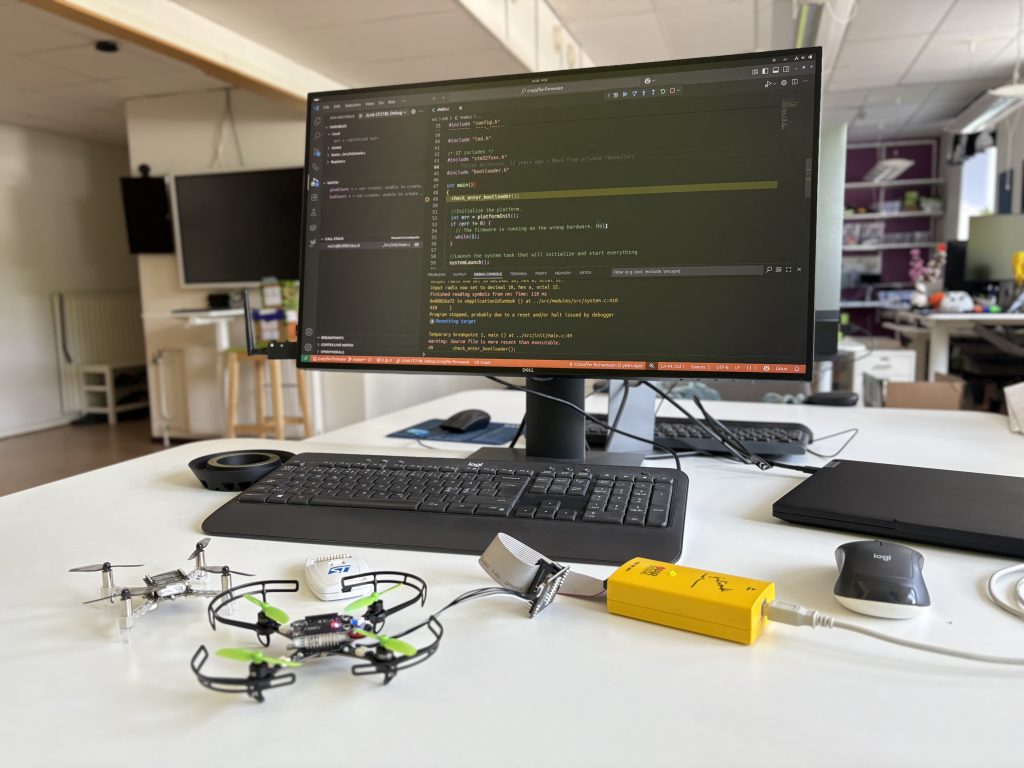
Debugging the Crazyflie using the debug-adapter kit gives you direct access to the STM32 with a hardware debugger. It makes it possible to pause execution, step through code, and inspect what’s happening in real time.
Even if you’re working mostly at a higher level, having this kind of visibility can be a huge time-saver when something unexpected happens. It’s a tool I use frequently when tracking down firmware issues or verifying low-level behavior.
We already have documentation for debugging the STM32 on the Crazyflie using ST-LINK and VS Code, but there are still a few missing pieces; like how to use J-Link, how to debug other platforms (like the Crazyflie 2.1 Brushless), and how enabling debug builds can help.

Debug Build
If you’re debugging and your breakpoints aren’t landing where you expect, or stepping seems unpredictable, or variables aren’t visible, it’s probably because the firmware was built with compiler optimizations enabled. When you select a debug build, the build system disables optimization by setting the compiler flag -O0, which preserves line-by-line correspondence between source code and machine instructions. This makes stepping and inspecting variables much more reliable.
To enable a debug build, you need to set the CONFIG_DEBUG option in your Kconfig configuration. You can do this, for example, by running make menuconfig in a terminal. Then navigate to Build and debug options and select Enable debug build. After changing Kconfig options, re-run make to rebuild the firmware with the new configuration.

Kconfig option through menuconfigVS Code Debug Configuration
With debug builds enabled, you’ll get more predictable stepping and reliable breakpoints. The next step is setting up your debugger. Below is a launch.json configuration for VS Code that supports both ST-Link and J-Link, and works with Crazyflie 2.x and the 2.1 Brushless.
If you’re using a J-Link probe, you’ll need to install the J-Link software from Segger.
{
// VS Code debug launch configurations for Crazyflie 2.x and 2.1 Brushless using J-Link and ST-Link
"version": "0.2.0",
"configurations": [
{
// ST-LINK configuration for Crazyflie 2.x
"name": "STLink CF21 Debug",
"cwd": "${workspaceRoot}",
"executable": "${workspaceRoot}/build/cf2.elf",
"request": "launch",
"type": "cortex-debug",
"device": "STM32F405",
"svdFile": "${workspaceRoot}/tools/debug/STM32F405.svd",
"servertype": "openocd",
"configFiles": ["interface/stlink-v2.cfg", "target/stm32f4x.cfg"],
"runToEntryPoint": "main",
"preLaunchCommands": [
"set mem inaccessible-by-default off",
"enable breakpoint",
"monitor reset"
]
},
{
// ST-LINK configuration for Crazyflie 2.1 Brushless
"name": "STLink CF21BL Debug",
"cwd": "${workspaceRoot}",
"executable": "${workspaceRoot}/build/cf21bl.elf",
"request": "launch",
"type": "cortex-debug",
"device": "STM32F405",
"svdFile": "${workspaceRoot}/tools/debug/STM32F405.svd",
"servertype": "openocd",
"configFiles": ["interface/stlink-v2.cfg", "target/stm32f4x.cfg"],
"runToEntryPoint": "main",
"preLaunchCommands": [
"set mem inaccessible-by-default off",
"enable breakpoint",
"monitor reset"
]
},
{
// J-Link configuration for Crazyflie 2.x
"name": "JLink CF2 Debug",
"cwd": "${workspaceRoot}",
"executable": "${workspaceRoot}/build/cf2.elf",
"request": "launch",
"type": "cortex-debug",
"device": "STM32F405RG",
"svdFile": "${workspaceRoot}/tools/debug/STM32F405.svd",
"servertype": "jlink",
"runToEntryPoint": "main",
"preLaunchCommands": [
"set mem inaccessible-by-default off",
"enable breakpoint",
"monitor reset"
]
},
{
// J-Link configuration for Crazyflie 2.1 Brushless
"name": "JLink CF21BL Debug",
"cwd": "${workspaceRoot}",
"executable": "${workspaceRoot}/build/cf21bl.elf",
"request": "launch",
"type": "cortex-debug",
"device": "STM32F405RG",
"svdFile": "${workspaceRoot}/tools/debug/STM32F405.svd",
"servertype": "jlink",
"runToEntryPoint": "main",
"preLaunchCommands": [
"set mem inaccessible-by-default off",
"enable breakpoint",
"monitor reset"
]
},
]
}Code language: JSON / JSON with Comments (json)To use this setup with a different platform, like the Flapper, just change the executable field to point to the correct .elf file. By default, starting a debug session in VS Code will erase and reflash the firmware, so make sure the firmware is built beforehand. If you need to attach to a running target without flashing, you’ll need to modify the launch.json to skip loading the binary.