Finally after some issues and lots of interruptions we made the move to GitHub. We will keep the BitBucket repos (but as read-only) since there’s lots of inbound links for code and issues.
If you are interested in doing the same move here’s what we did.
Create the reposiory on GitHub, then pull in Mercurial project from BitBucket into a local git repos using git-remote-hg:
git clone hg::https://bitbucket.org/bitcraze/crazyflie-firmware
The new github repos can then be added to the local git. Tags and branches can then be pushed to github. As Mercurial and Git have very different way to handle branches you will have to chose which branch to push and push them manually (we did not find any way to push all at once and we did not want to push all the branches anyway…):
cd crazyflie-firmware
git remote add github git@github.com:bitcraze/crazyflie-firmware.git
git push github master
#Pushing tags
git push --tags github
# Tracking and pushing all interesting branches
git branch --track 2014.01 origin/branches/2014.01
git push github 2014.01
git branch --track gps_ublox_dev origin/branches/gps_ublox_dev
git push github gps_ublox_dev
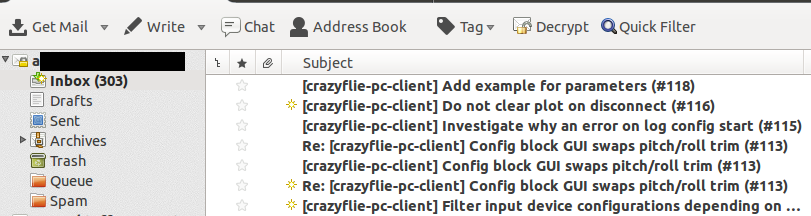
Copying the issues from BitBucket to GitHub can be done using this script. It takes the source user/repo and destination user/repo as arguments. Keep in mind that GitHub doesn’t have the same metadata as BitBucket does. So there’s a JSON file where you set up the mapping between BitBucket kind/status/priority/component and GitHub labels. In this you can set up zero to multiple labels. If a mapping for components is missing then a label with the same name is used. Milestones on BitBucket is mapped 1:1 to GitHub. The needed labels and milestones will be created as they are used while copying the issues.
If you are copying issues to an organization repository you will have to use a GitHub API token for identification, since you cannot log in using the organization username. Here’s an example for what we did for the Crazyflie python clients:
#Migrating tickets from Bitbucket to Github
python migrate.py -g bitcraze -d crazyflie-clients-python -u bitcraze -s crazyflie-pc-client -k your_api_token_here
Two tips: Create a new user that does the migration (like bitcraze-issue-importer) and make sure that you haven’t created any issues in the target repositories before the migration. If you don’t have any issues before then the number will match and all the references will work out of the box (from commit messages and other issues).