It’s been a while since our last update on what started as the High powered LED deck prototype. We have finally had time to push this project forward and are aiming to have a release at the beginning of 2026.
A New Name and a Familiar Design
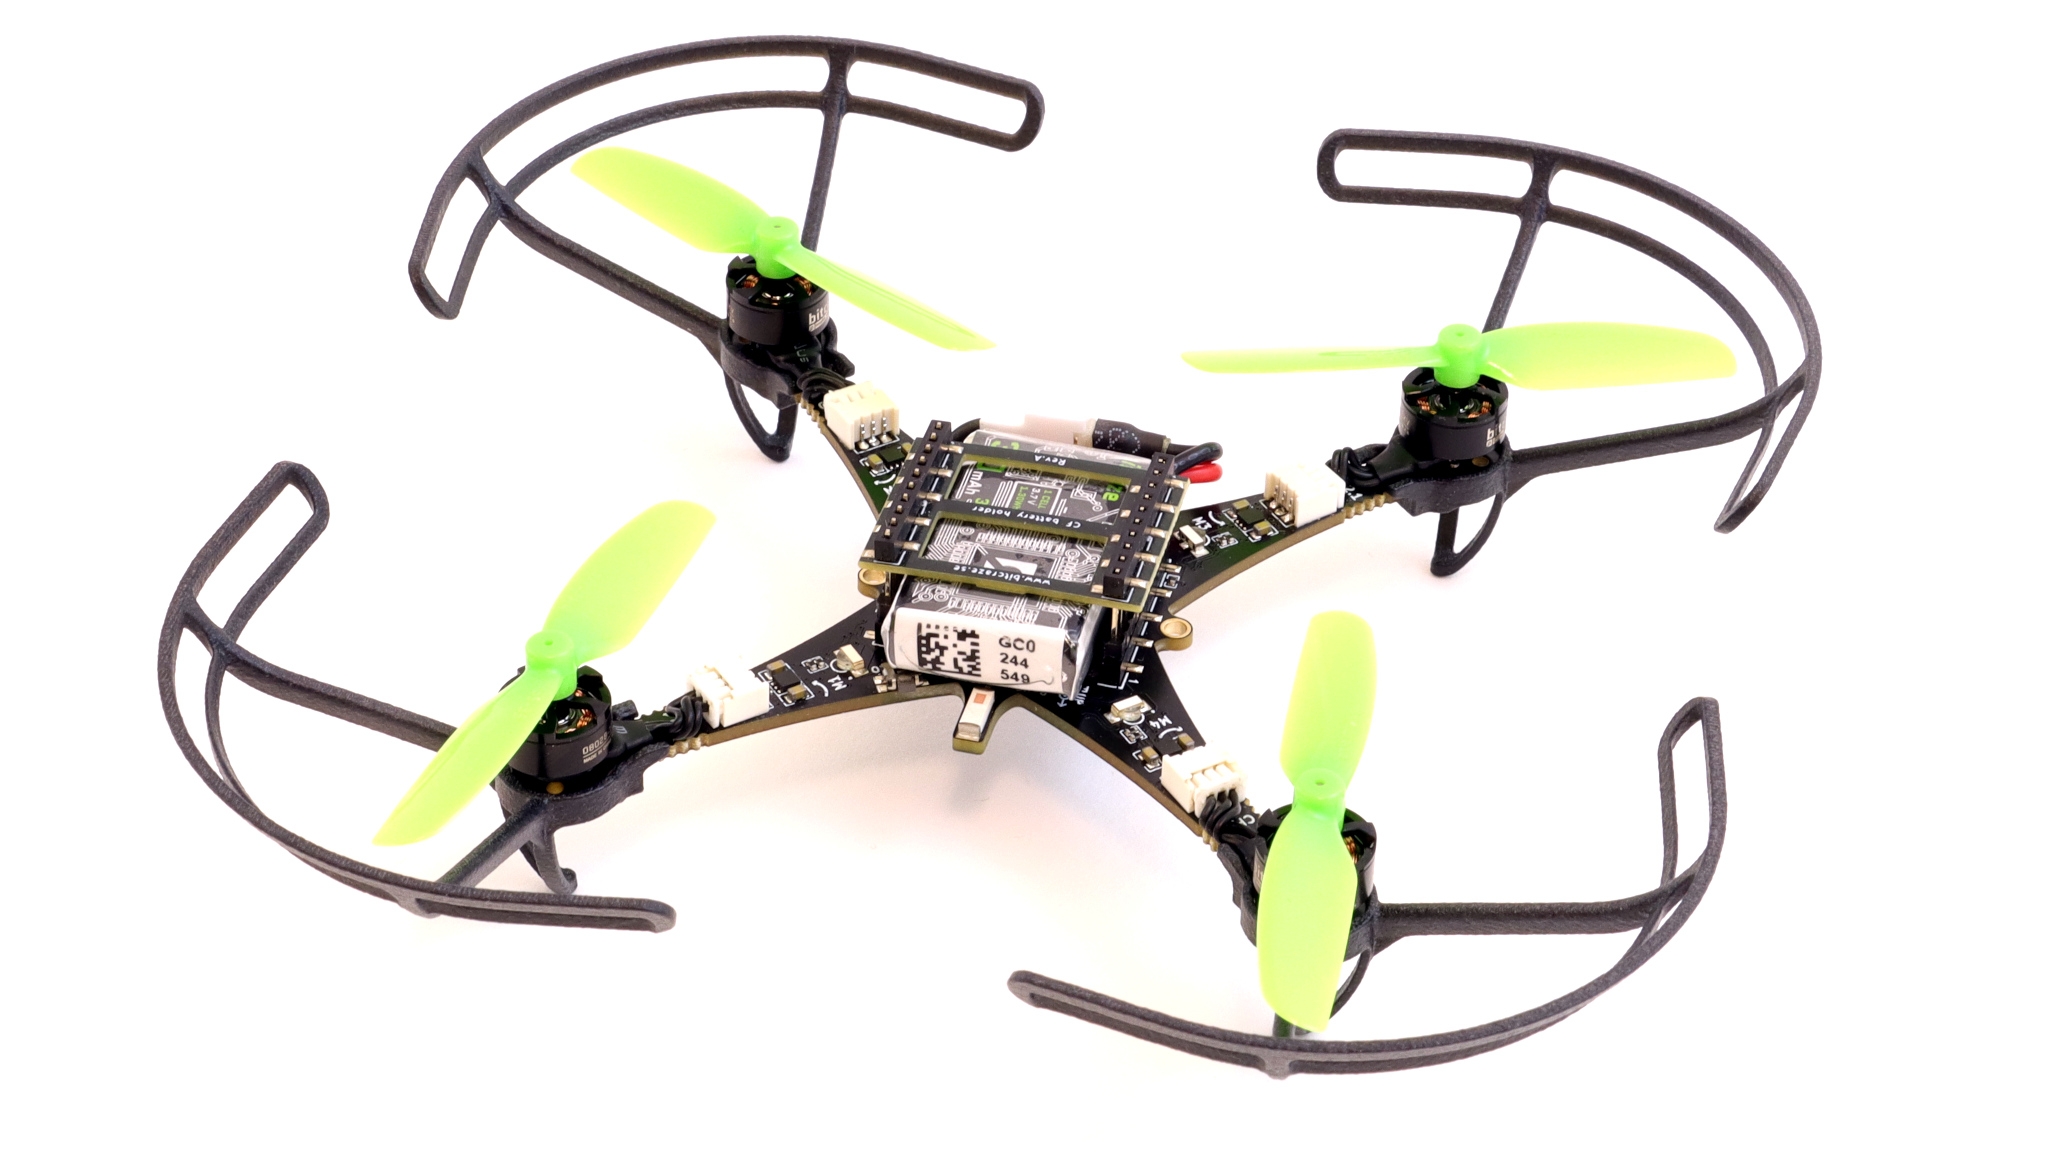
You might notice that the deck has a new name, something simpler and a bit catchier, the Color LED deck (bottom-mounted and top-mounted). The overall design and specs, however, remain very similar to the original concept:
- Using a highly efficient high powered LED for maximum brightness
- DC/DC driving circuitry for improved efficiency and consistent performance
- A light diffuser for smooth, even illumination and wide visibility
- Two versions, top or bottom mounted, depending on your build

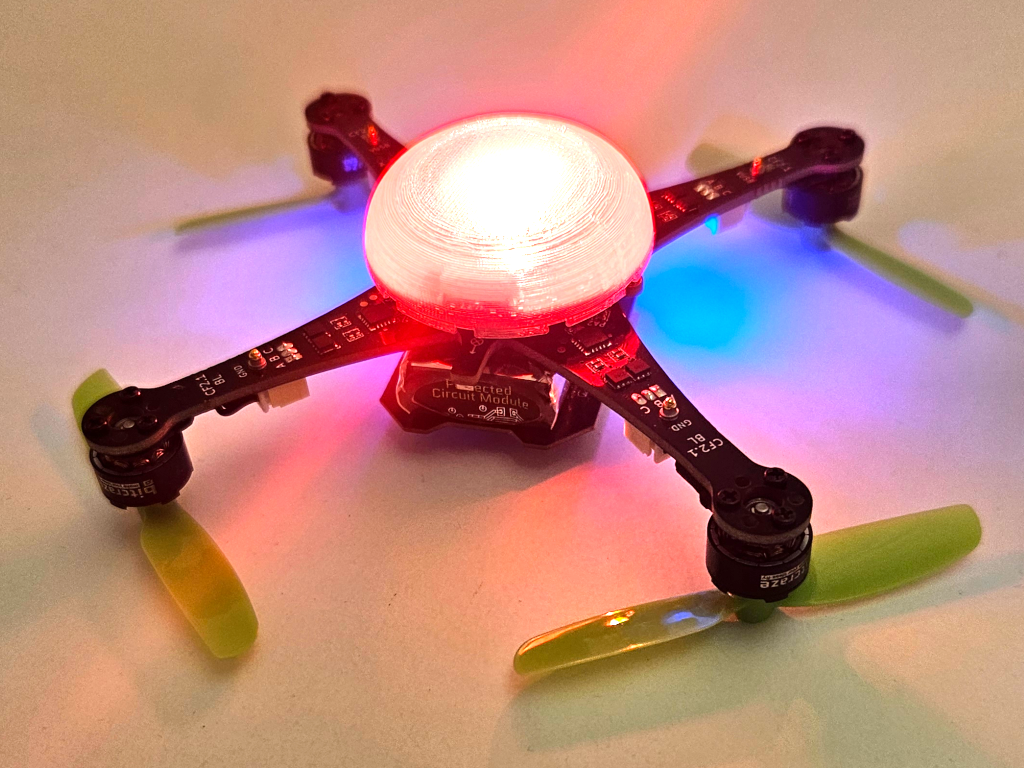
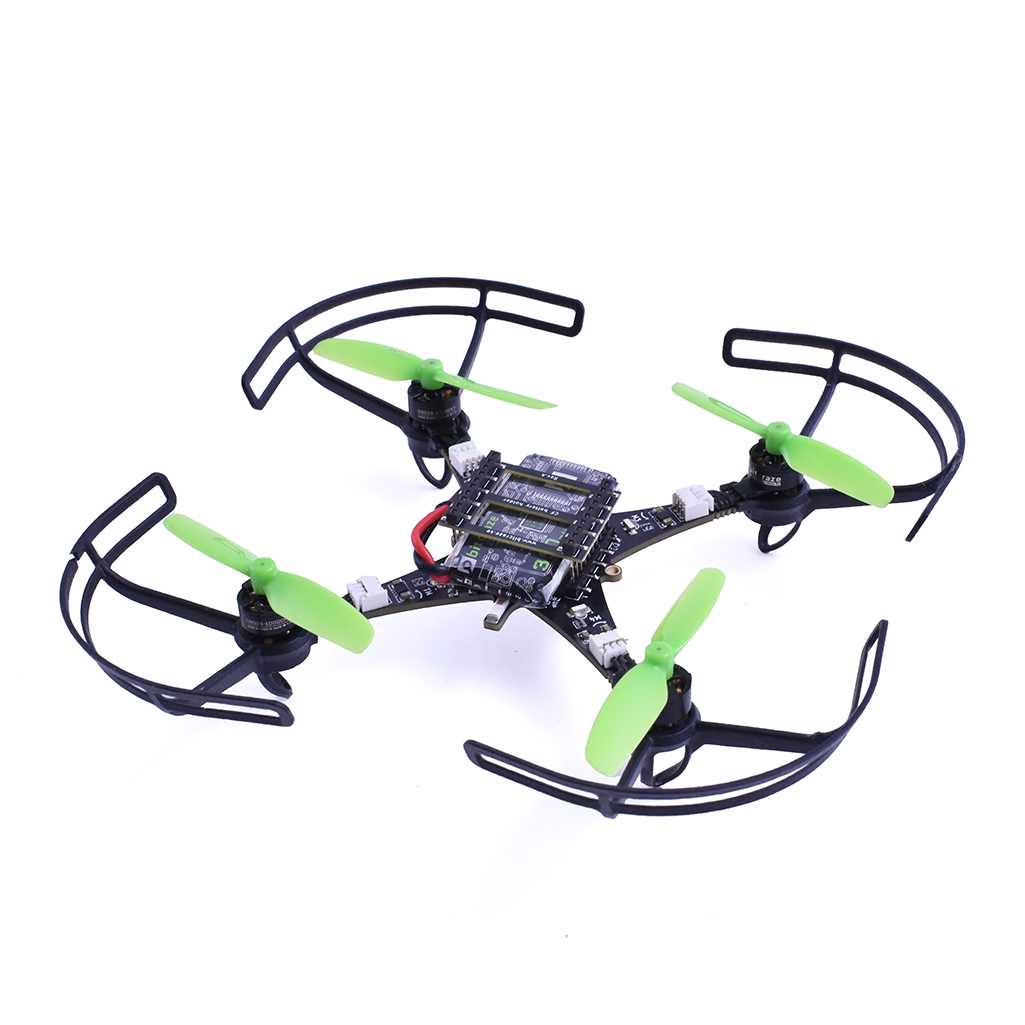
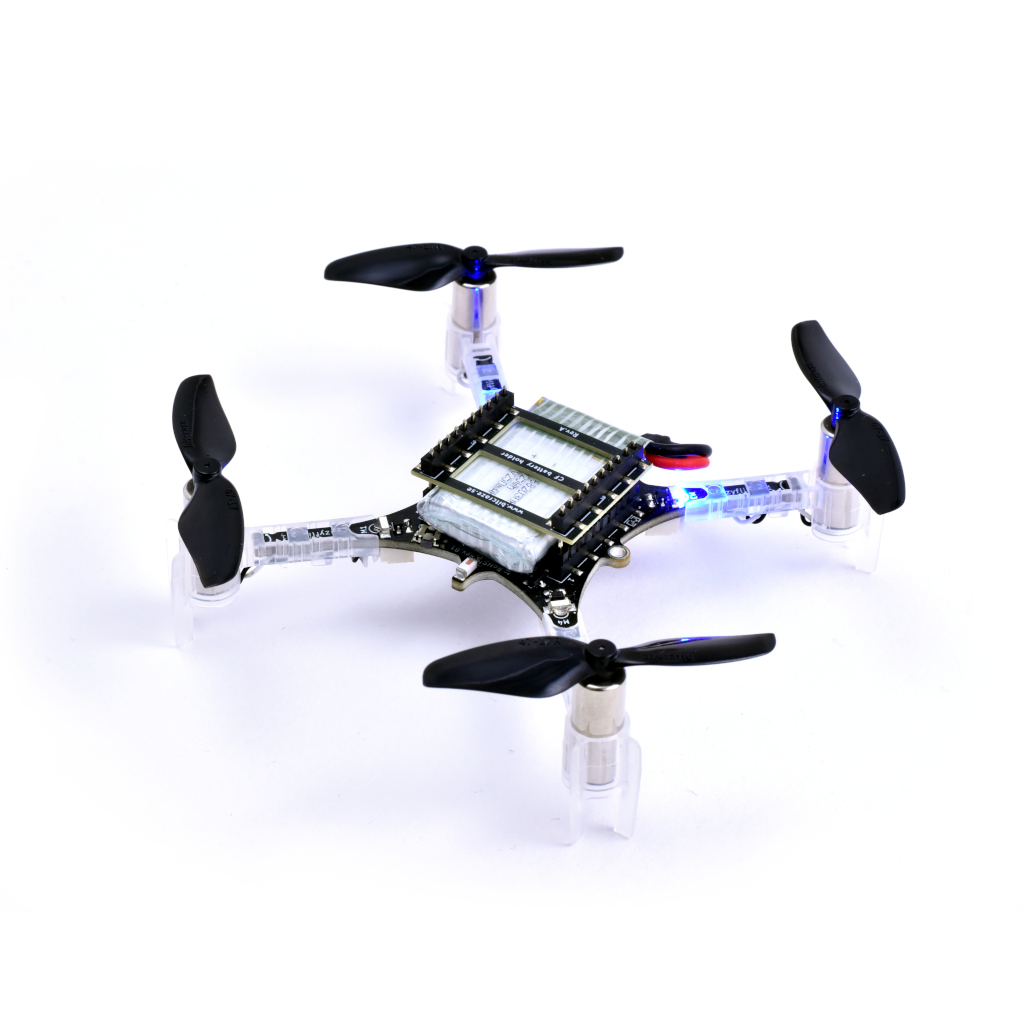
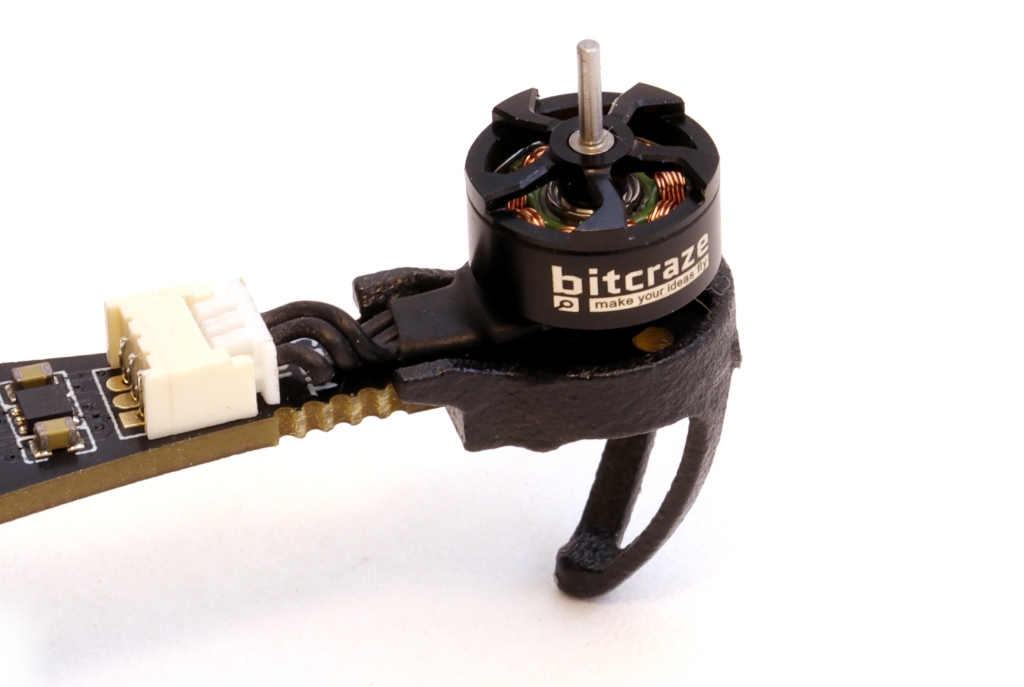
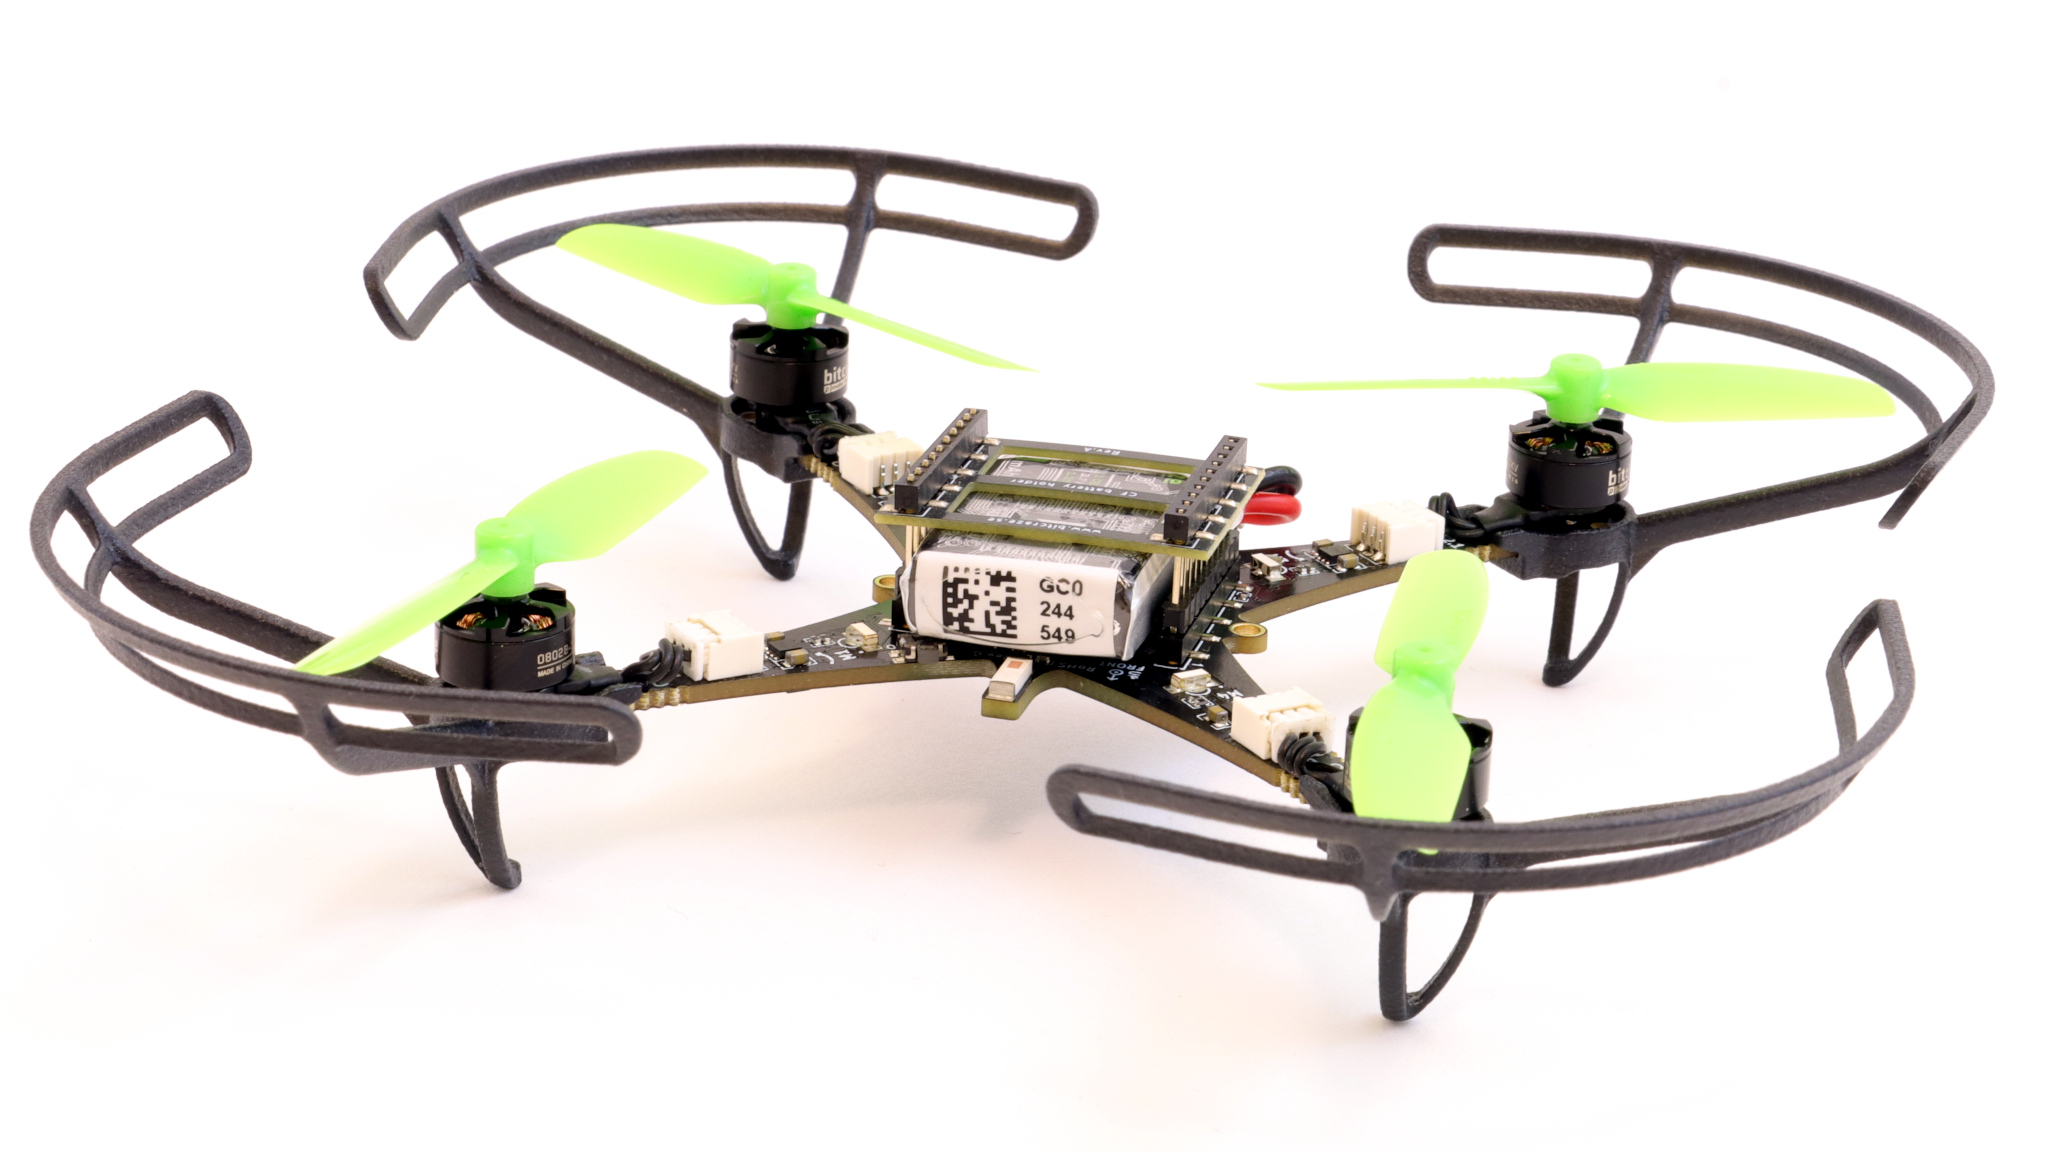
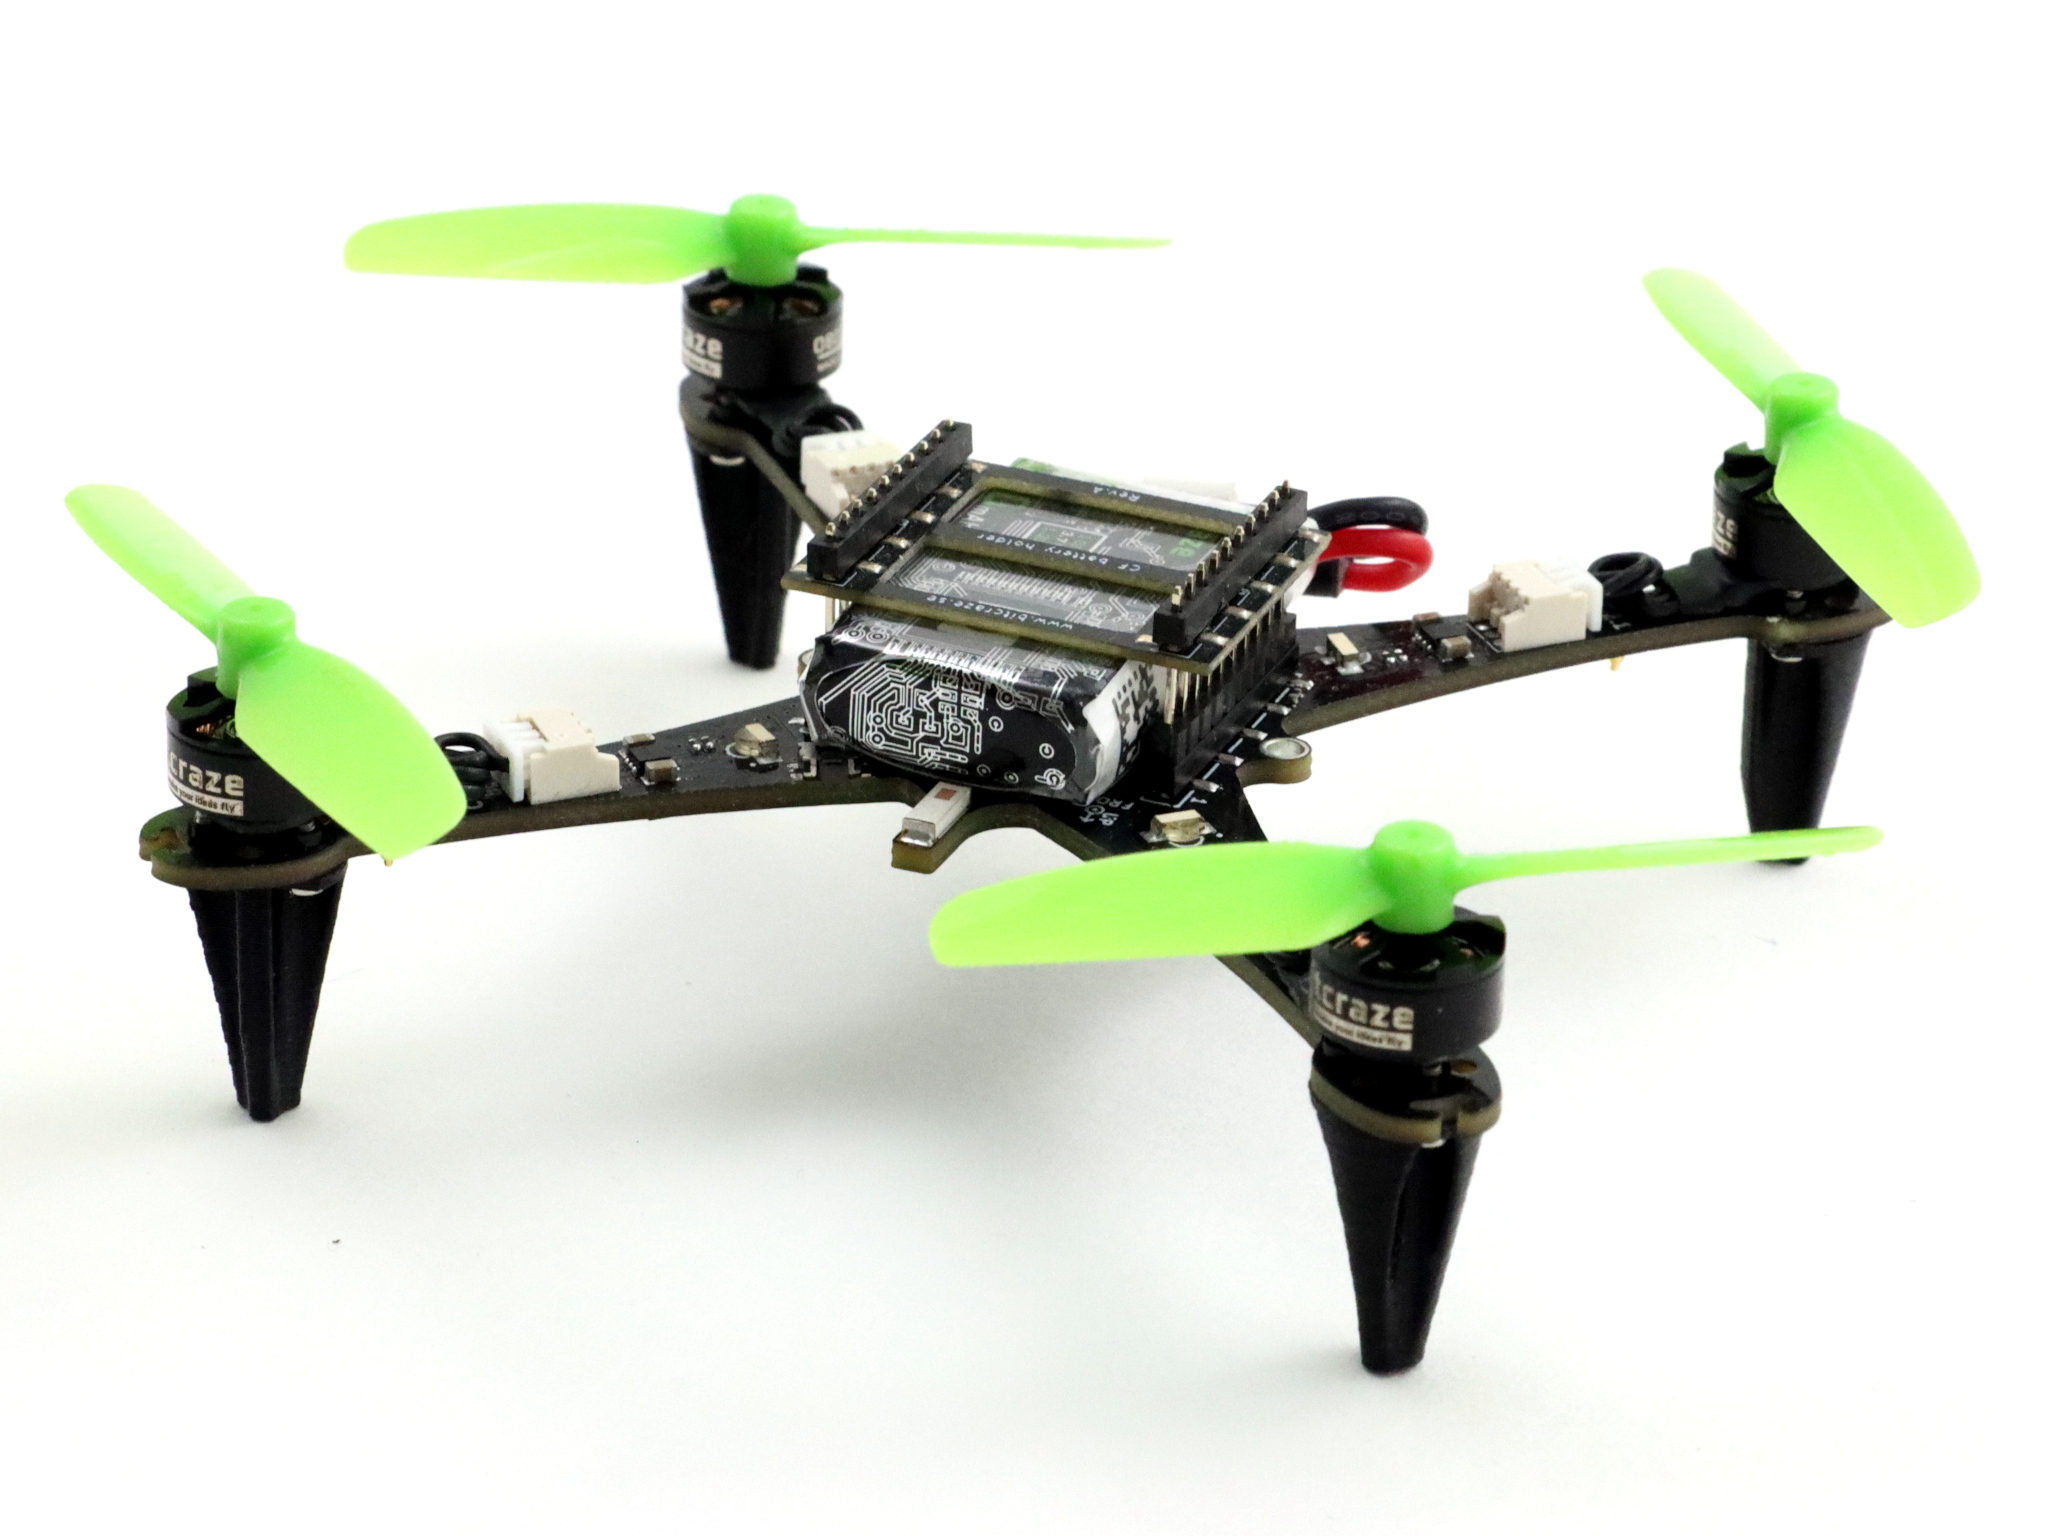
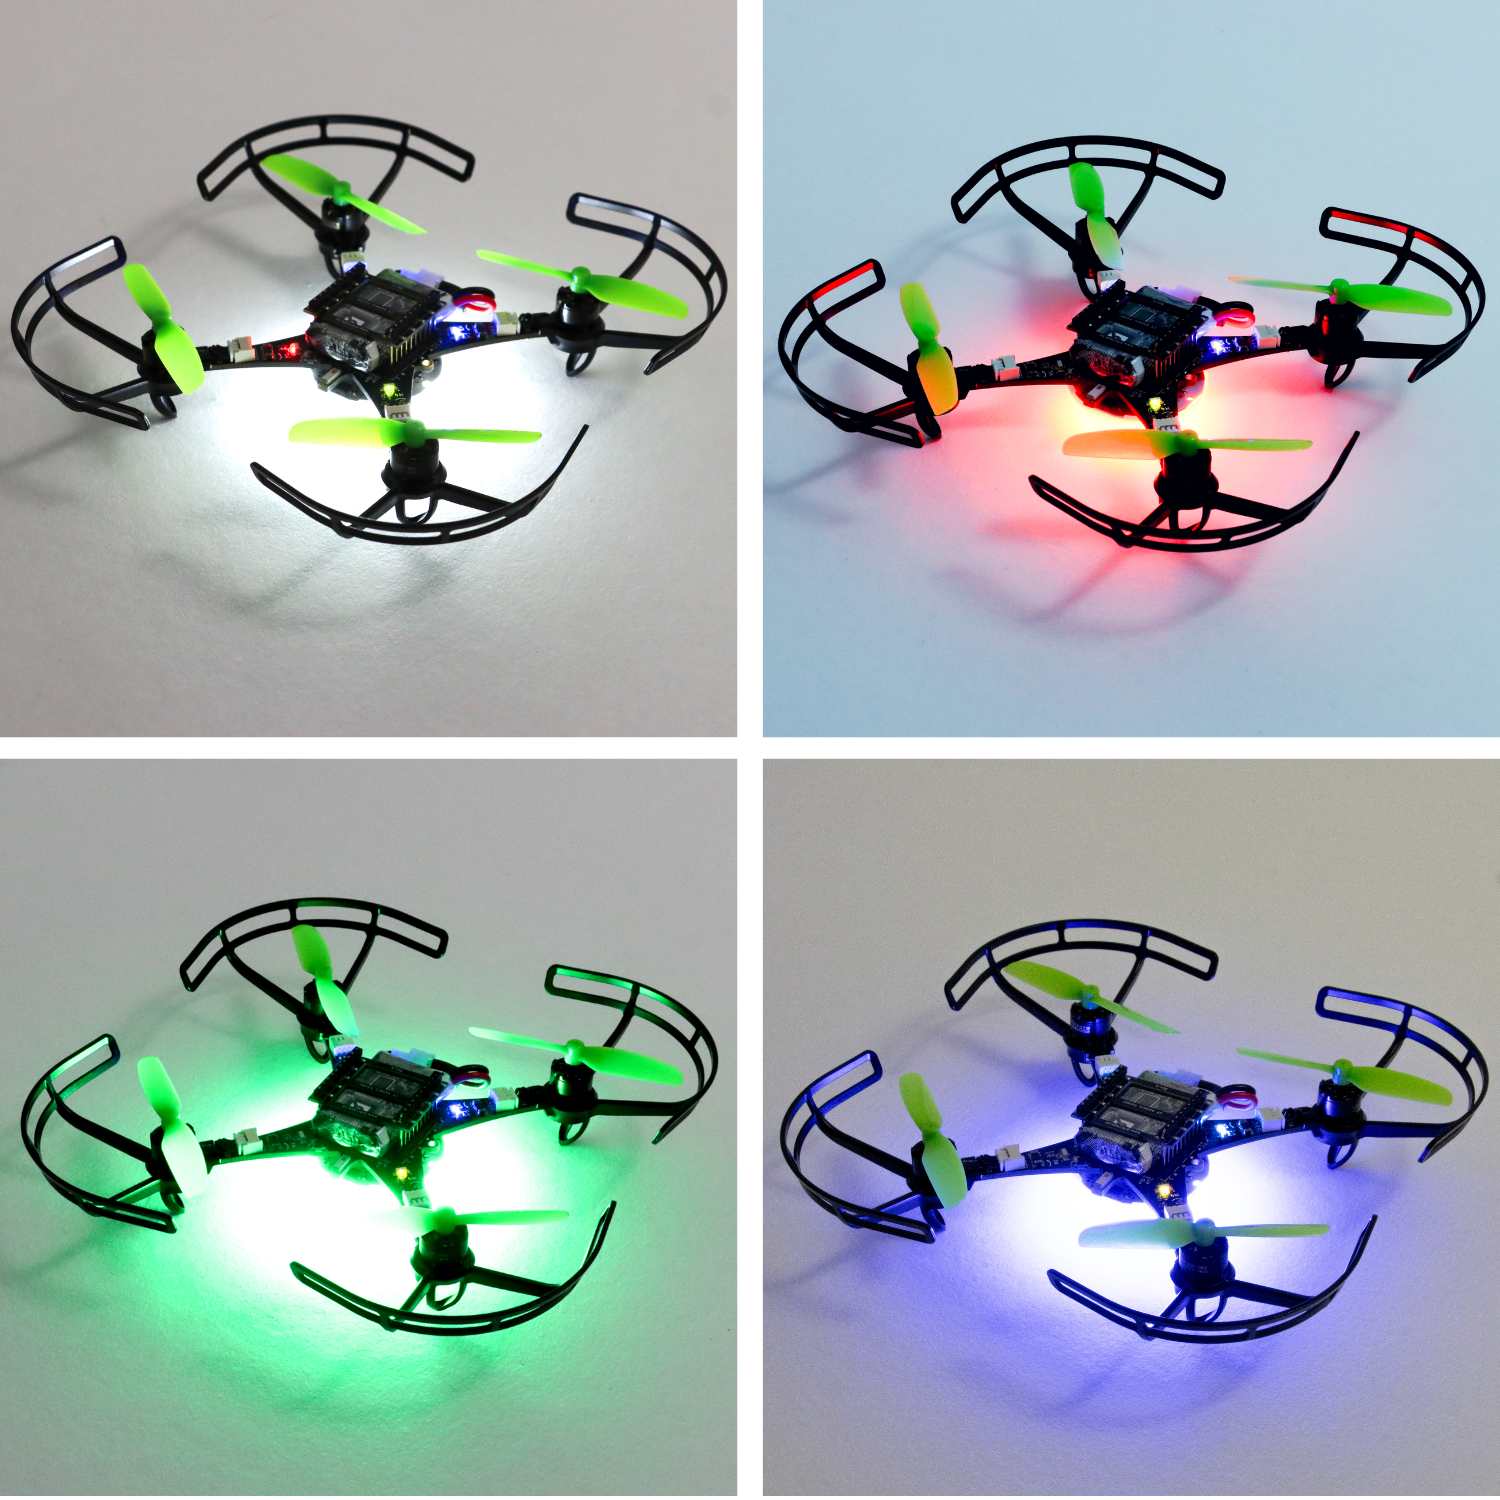
The Color LED Deck brings fully programmable lighting to your Crazyflie, allowing you to create and control custom light patterns in real time. It’s useful for flying in darker environments, for visual tracking experiments, or for adding synchronized light effects in drone choreography. The deck is now also compatible with the Crazyflie 2.1 Brushless, bringing dynamic lighting to our most recent platform for the first time.
Software architecture
This deck will also be the first to use the new DeckCtrl architecture. If you’re curious about how that works, you can read more about it in this earlier blog post.
The Color LED deck has some intelligence built into it that runs on a STM32C0 MCU. The open-source firmware is still under development, and the repository can be found here.
Availability
The final pricing is still being determined, but make sure to sign up for the in-stock notification at the Color LED deck store pages (bottom-mounted and top-mounted) to get an update as soon as it’s available. And as always, keep an eye on the blog for more updates as we get closer to release.