Flying formations with a swarm is always fun to develop and watch, but it is also a great way to stress-test the software behind it. As part of the development of cflib2, we put it through one of its toughest tests yet: flying 49 Crazyflies in coordinated formations.
The entire swarm was controlled using a single Crazyradio 2.0, highlighting the combined improvements in cflib2 and Crazyradio firmware over the past few months.
The setup
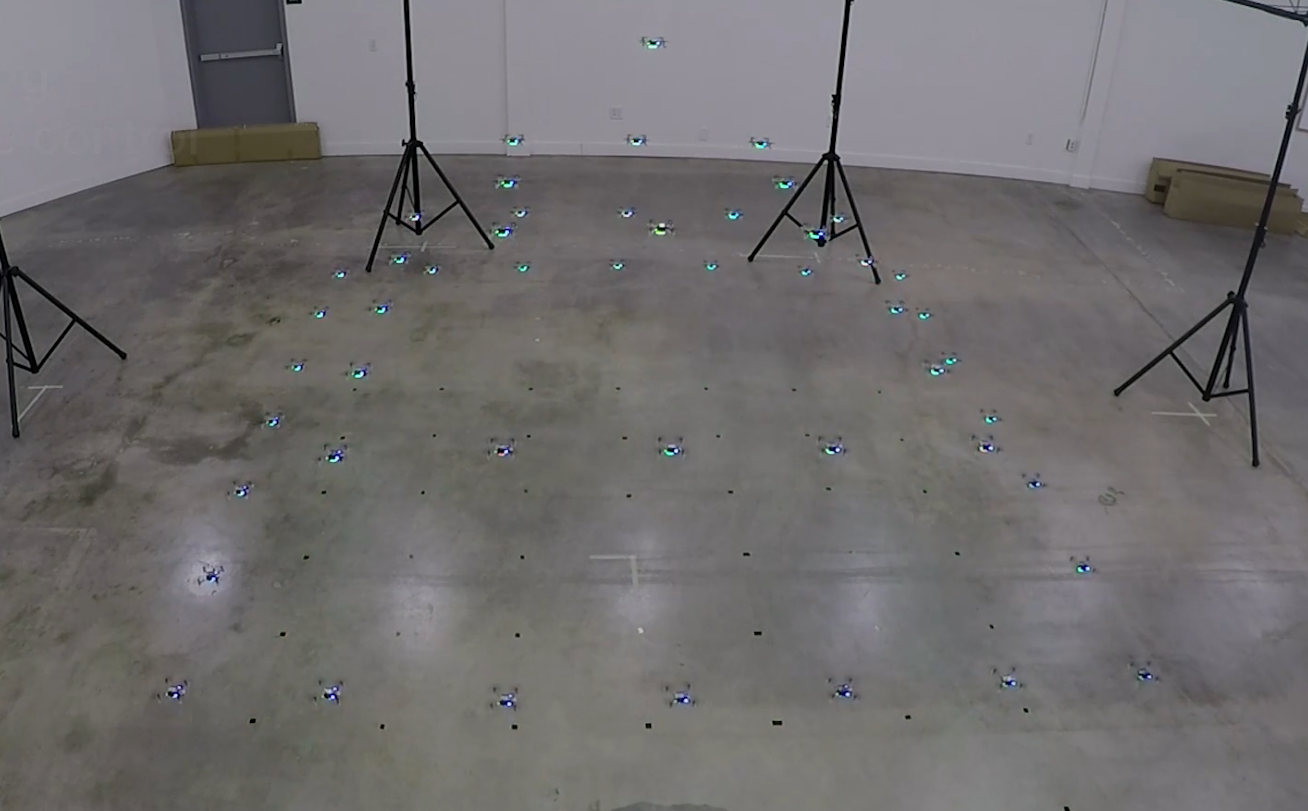
The hardware configuration was relatively straightforward. We used 49 Crazyflie 2.1 Brushless drones, each one equipped with a bottom-mounted Color LED deck for vivid lighting effects. For positioning, we used the Lighthouse positioning system, covering the entire flight area, which was roughly 5x5x2m. Its accuracy allowed the Crazyflies to fly grid formations with just 0.4m spacing between them.
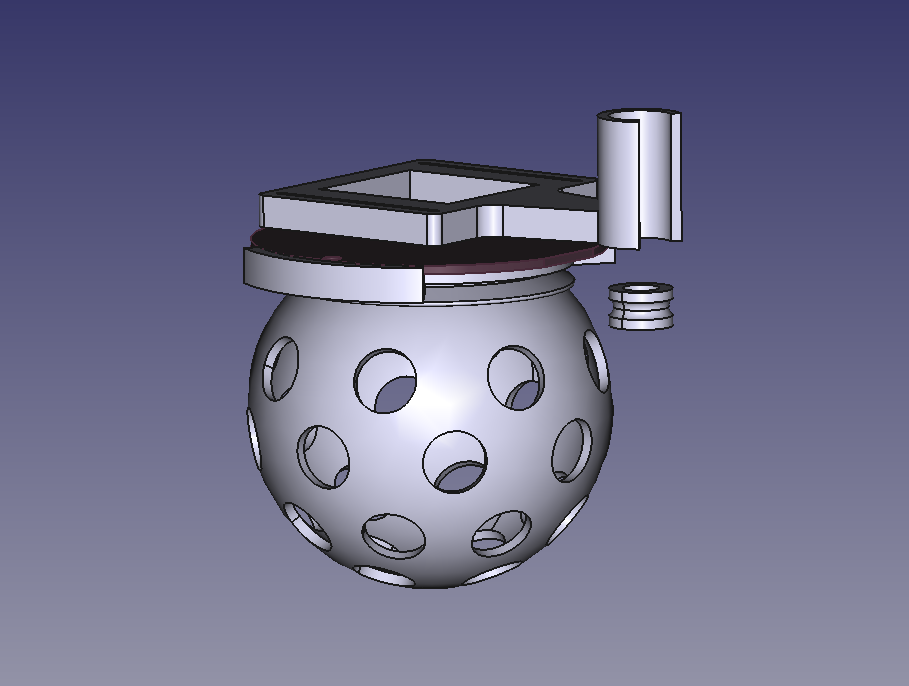
One of the big practical challenges when managing a large swarm is swapping the depleted batteries for charged ones. Thanks to the Crazyflie 2.1 Brushless PCB design, each drone can now charge while sitting on its charging dock, making it much easier to prepare the swarm for the next flight.
Flying the formations
The swarm performed a sequence of synchronized formations under the control of a central PC. Rather than streaming the full trajectories to every drone, the formations are built using the Crazyflie’s High-Level Commander. Each Crazyflie receives simple motion commands such as go to or spiral, and executes the corresponding trajectory onboard. At the same time, it receives commands for changing the color of the Color LED deck.
Using cflib2, these commands can be sent to all 49 Crazyflies through a singe Crazyradio 2.0, which was not possible with cflib.
Looking ahead
This demonstration is an exciting milestone for cflib2 and showcases what the new library makes possible. While controlling 49 Crazyflies is an impressive demonstration, cflib2 is designed to benefit projects of every size. Whether you are flying a single Crazyflie or coordinating a large swarm, the goal is to provide a faster, more scalable, and more robust communication library.
Most of the functionalities from cflib have already been migrated to cflib2, and development is continuing. For many applications, cflib2 is already ready to use, so if you would like to try it out, you can find the repository here.