It is apparently a recurrent theme within Bitcraze:New people come into the office, claim that the documentation is a bit of a mess, then will make it their personal mission on the company to try to fix it (because ‘how hard can it be?’) and come close to a mini depression when it turns out that it ain’t so easy at all.
And yes, I absolutely fell in into that trap too. During my PhD I did not really work on documentation like this (with the exception of papers) so I made quite ambitious plans last year as you can read in this blogpost. We managed to already cross a couple of things off: we moved wiki pages to the github and host it on our website and created datasheets for products, which should make it possible to close the wiki product pages.
However, we still haven not managed to completely close off the wiki because some pages can not really be split up or might have information on there that might not be very future proof. But there are definitely many matters to improve, so we are just writing some of our thoughts down.
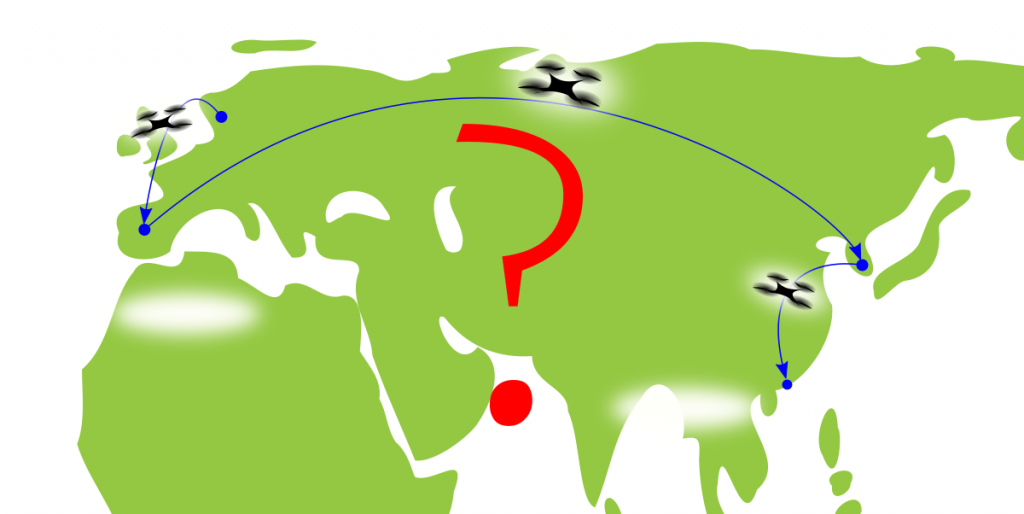
Beginner – ? – Developer
One of the things that we noticed that is missing, also by comments of you guys on the forum or by mail, are the means to bring the crazyflie starters quickly to the developer phase. There are some tutorials to be found on our website, but the general feeling is that it does not elevate the general understanding of how everything works. Even the tutorials that cover the autonomous flight with a flowdeck does not go further than giving install instructions and handing over the full python script while not explaining which element does what.
Of course, there are already user manuals to be found in the github docs, however those are maybe too big of a step and take much for granted that the reader knows every ‘in between’ step. It would be much better, for any level, to have step-by-step guides on how to set thing up and what each element’s role is in the code. That would probably work much more effectively as a start for beginning developers.
So we had some tutorials in mind that can elevate first starters to come closer to the developer page:
- CFCLIENT: How to working with the logging / parameter framework and the plotting tab
- CFCLIENT: How to interpret the debug console output
- CFLIB: How to connect to the Crazyflie and read out logs and parameters
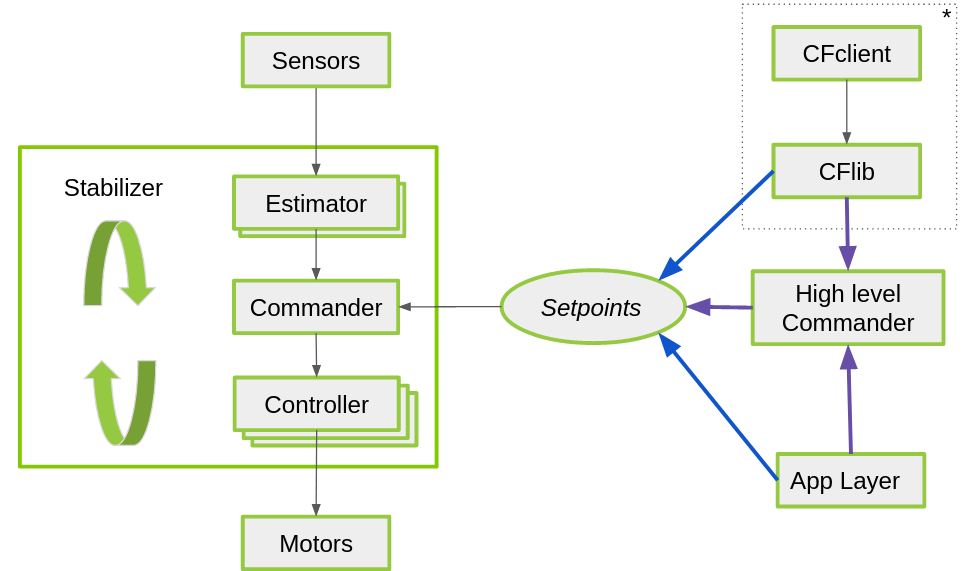
- CFLIB: How to send set points and the commander framework
- CFLIB: How to build up the Multiranger push demo step by step
- CF FIRMWARE: How to work with the Applayer (adding own modules or code)
If there are more tutorials that you would like to see, please let us know!
Doc closer to the code
The consensus here in general, is that we would like to have the documentation as close as possible to the doc. At least we have taken a step into the right direction by importing the docs into the Github Repos. This means that with every new feature added, the person responsible can add documentation to it directly in the same commit/pull request.
However, if the description is part of function’s or classes doc strings, it is as close as it can get! The contributor does not need to change the separate markdown file but can change the information directly. Moreover, it can also auto generate documentation for us, as you can see here from one of our try-outs with sphinx and our crazyflie-lib-python repo:
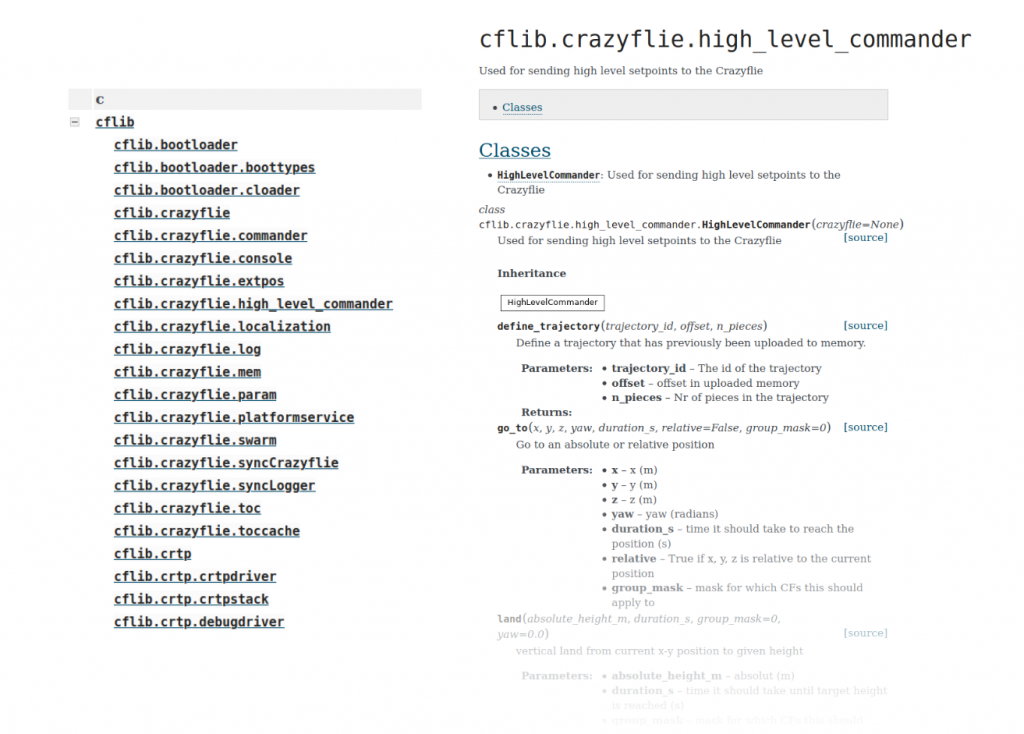
Maybe for a beginner such documentation would not be great as a start, but for a more trained developer this could be very useful. My personal problem with most automatic generated documentation is that I find them difficult to read and find the functions that I need. However it would be possible to change the layout to make it a bit more readable since we will host it on our website. And since we mostly use C and Python in our repos, the most logical tools would be Doxygen and Sphinx. There are probably other possibilities out there, but if we would like to integrate this in our framework, we would like to go with tools that are future proof.
The whole picture
The problem with Autodoc is that it mostly shows the itty-bitty-gritty details of a library or firmware, however the users tend to get lost and can not see the whole picture. Also we are maintaining a lot of libraries and firmwares to consider (as you can see here in this list) based on which hardware they are applied for. This means that we have separate documentation pages on almost all of those.
And then comes the decision of where to place information. For instance, the CRTP (Crazy RealTime Protocol) is documented in the crazyflie firmware documentation, since there it is indeed how it is implemented, but CRTP does not only affect the crazyflie firmware. It goes from the STM32F4 to the NRF to the crazyradio through the USB on your computer through the cflib which is the backbone of the CFclient. This is an topic that users would like to have to an overview from if they would like to develop something with the CRTP.
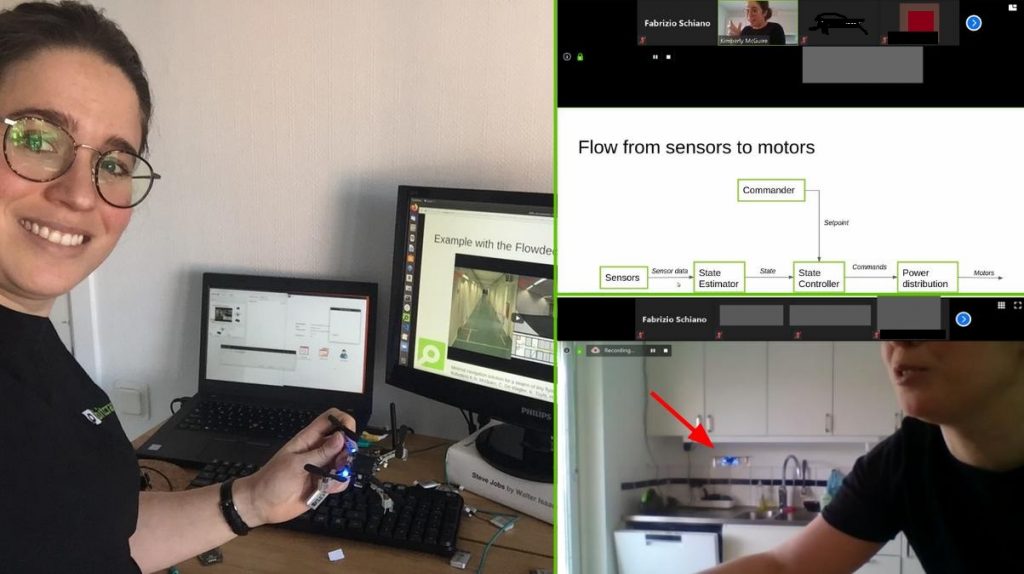
Step-by-step guides are maybe still too detailed to explain the whole picture so maybe we should have some other way to have this overview shown. Maybe by an online lecture or a more lesson type of medium?
There is a lot of sources out there (like write the doc) that have tips on how to maintain the information sources for users, but of course we need to have a documentation structure that is useful and readable for many types of users and maintainable from our side. Let us know if you want to share any insight from your own experiences!