Today, Vivek Adajania from Learning Systems and Robotics lab write about a project for a safe motion planning of Crazyflie swarm that was published at ICRA 2023. Enjoy!
Motivation
Quadrotor swarms offer significant potential in applications like search and rescue, environmental mapping, and payload transport due to their flexibility and robustness compared to single quadrotors. The core challenge in these applications is collision-free and kinematically feasible trajectory planning. As the quadrotors share space, they must safely manoeuvre around each other and avoid collisions with static obstacles. Existing solutions [1] [2], while effective for generating collision-free trajectories, often struggle in densely cluttered scenarios due to simplifying approximations.
Background
There are two literature groups in the domain of optimization-based quadrotor swarm motion planning: centralized and distributed approaches. In a centralized setup, a central computer solves a joint optimization problem that computes trajectories for all quadrotors at once. These approaches have broad solution space but quickly become computationally intractable as the number of quadrotors increases. On the other hand, the distributed approach involves each quadrotor independently solving its optimization problem and incorporating trajectories shared by the neighbouring quadrotors. This strategy offers improved scalability, yet existing distributed approaches struggle in cluttered environments.
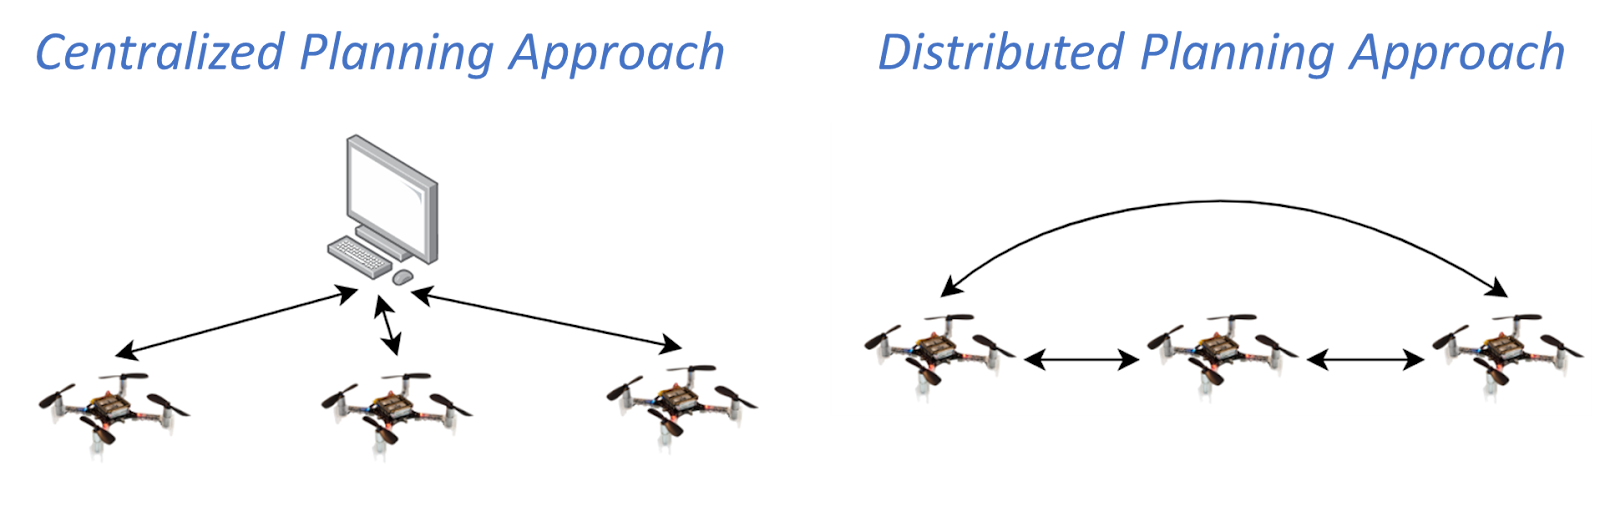
Fig. Centralized and distributed planning approach to quadrotor swarm motion planning. The arrows indicate the flow of communication.
In this work, we adopt a distributed planning strategy. The independent optimization problem that needs to be solved by each of the quadrotors in the distributed setup is a non-convex quadratically constrained quadratic program (QCQP). This nature of the problem stems from non-convex and quadratic collision avoidance constraints and kinematic constraints.
Existing distributed approaches rely on sequential convex programming (SCP) that performs conservative approximations to obtain a quadratic program (QP). First, linearization of the collision avoidance constraints to obtain affine hyperplane constraints. Second, axis-wise decoupling of the kinematic constraints to obtain affine box constraints. We obtain a QP but with small feasible sets.
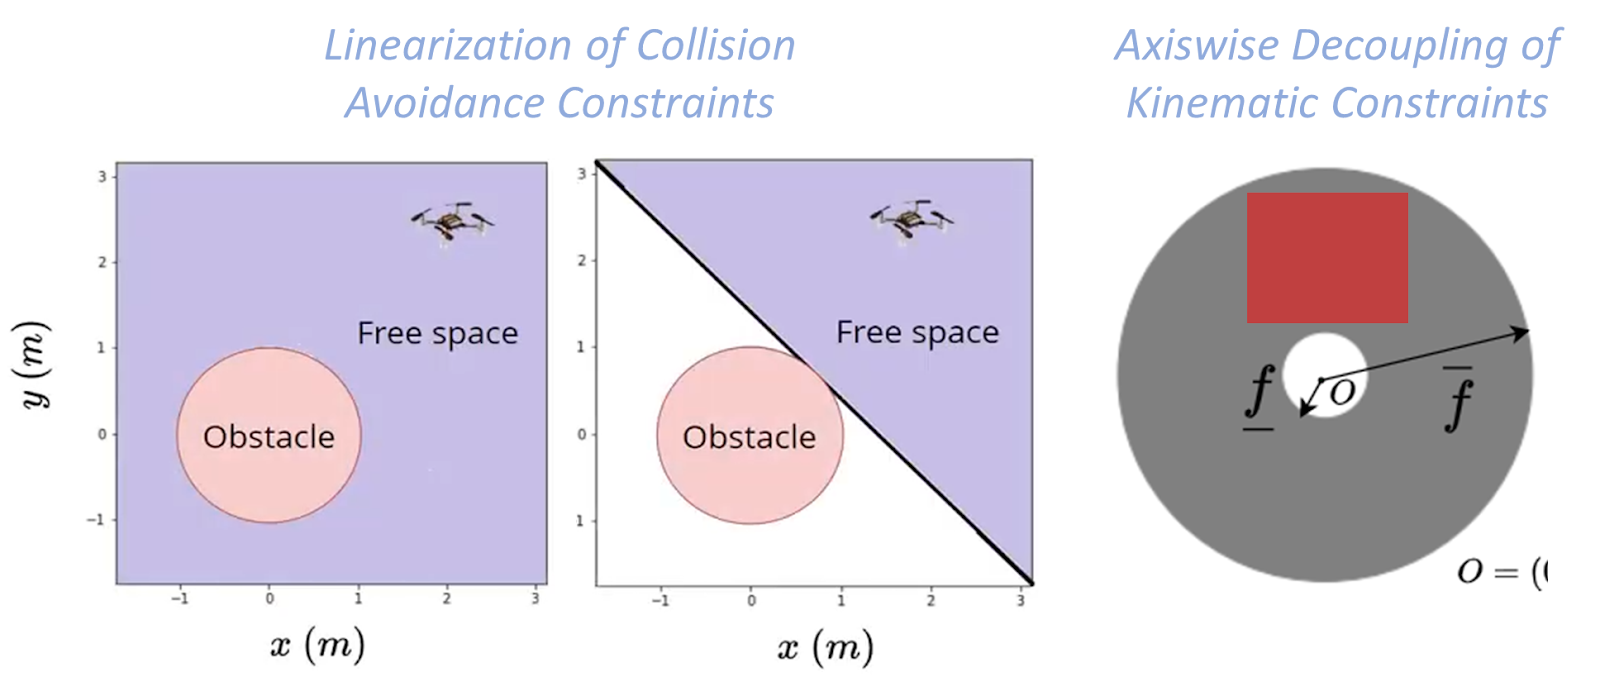
Fig. Conservative approximations made by Sequential Convex Programming (SCP) based approaches.
Proposed Approach
In contrast, our proposed approach obtains a QP without relying on the previously mentioned approximations. The first ingredient is the polar reformulation of collision avoidance and kinematic constraints. An example of the 2D polar reformulation of collision avoidance constraints is shown below:
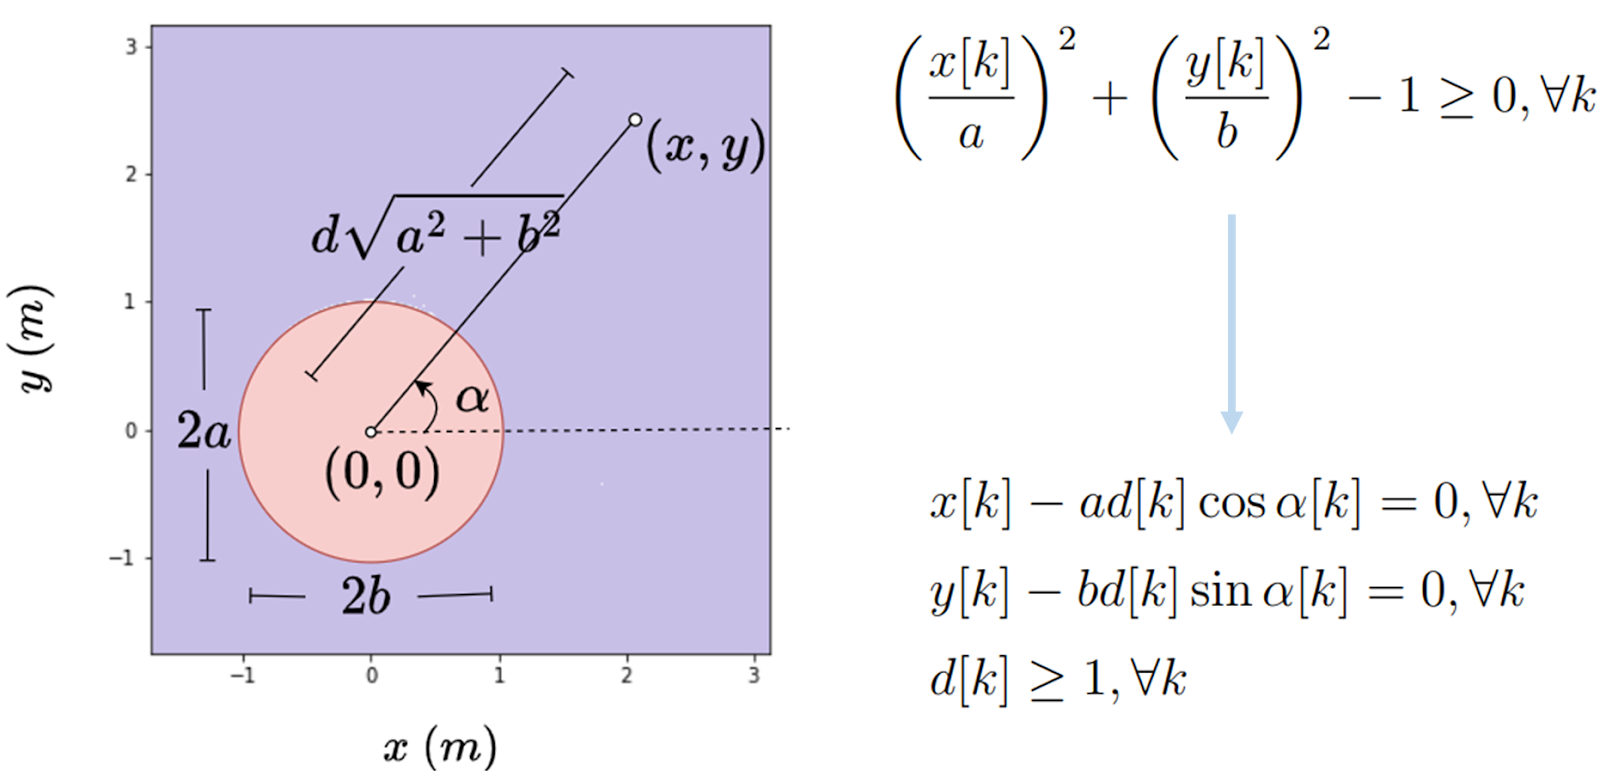
Fig. Example illustration of polar reformulation of 2D collision avoidance constraints.
The second ingredient is to relax the reformulated constraints as l-2 penalties into the cost function and apply Alternating Minimization. Alternating Minimization results in subproblems that are convex QPs, and some have closed-form solutions, thus obtaining a QP form without relying on linearization; further details can be found in our paper [3]. We can also use and reformulate alternative collision avoidance constraints, barrier function (BF) constraints
where hij is the Euclidean distance between quadrotor i and quadrotor j, and the parameter γ controls how fast the quadrotor i is allowed to approach the boundary of quadrotor j.
Results
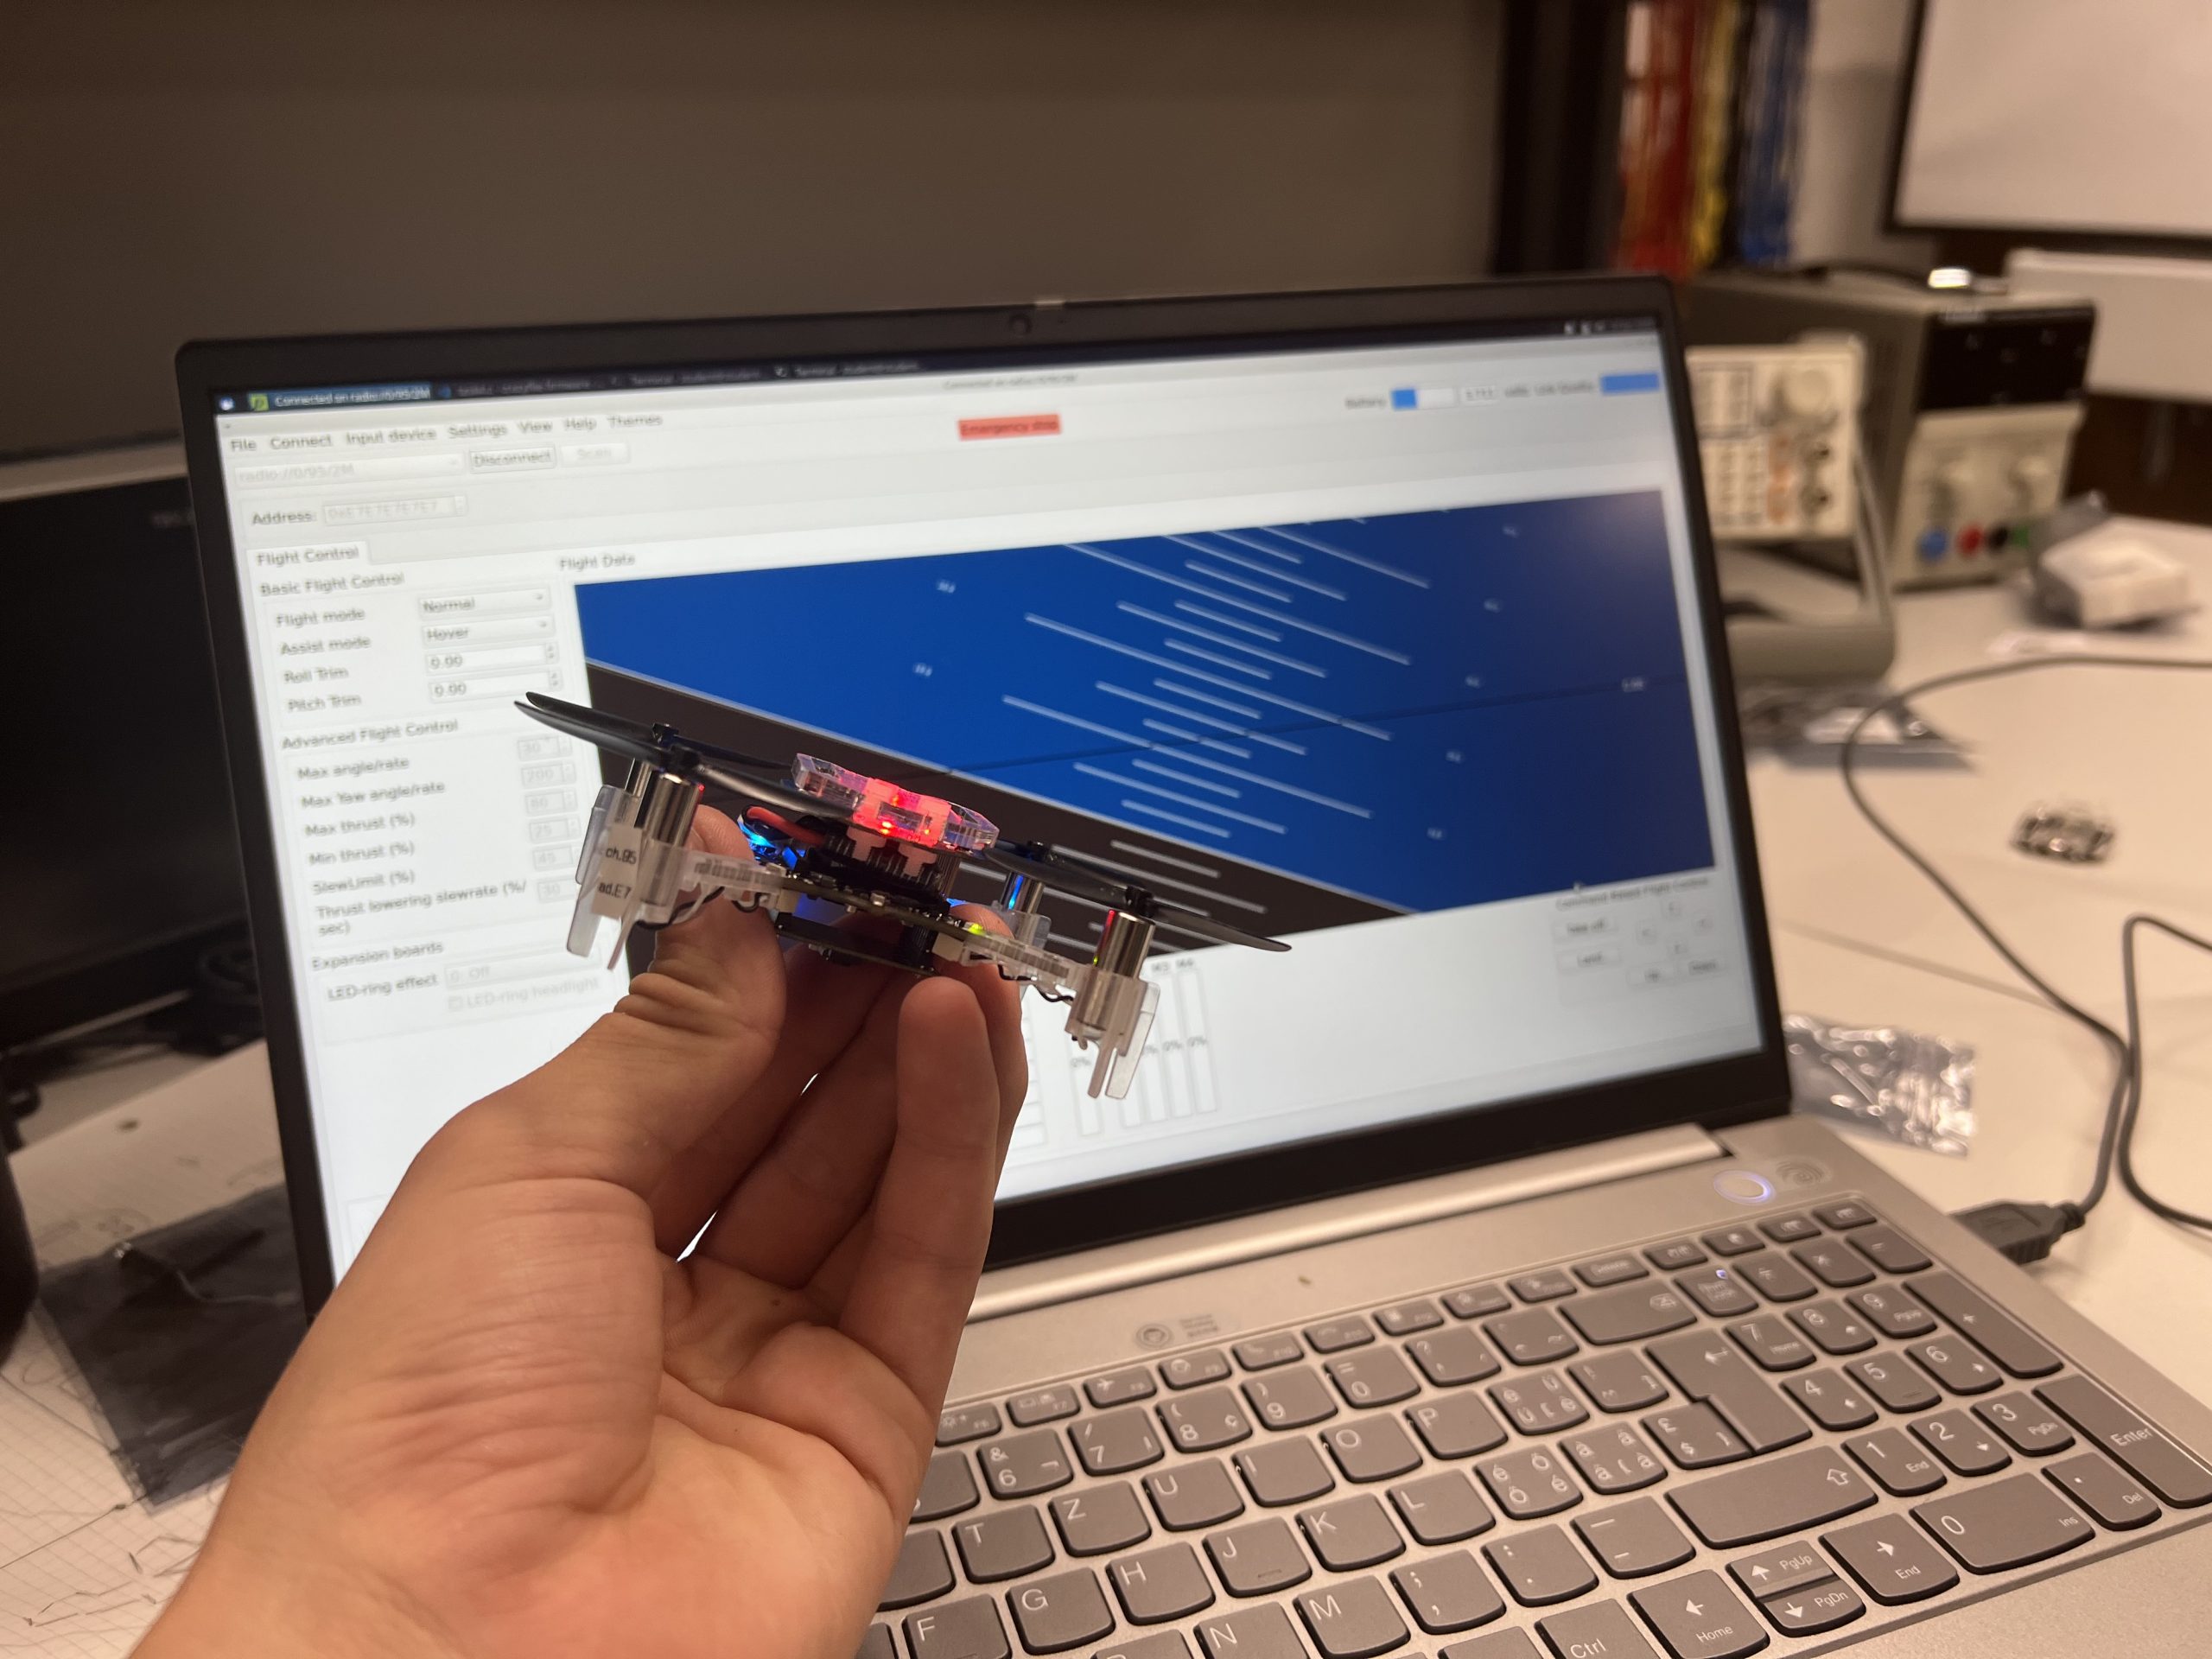
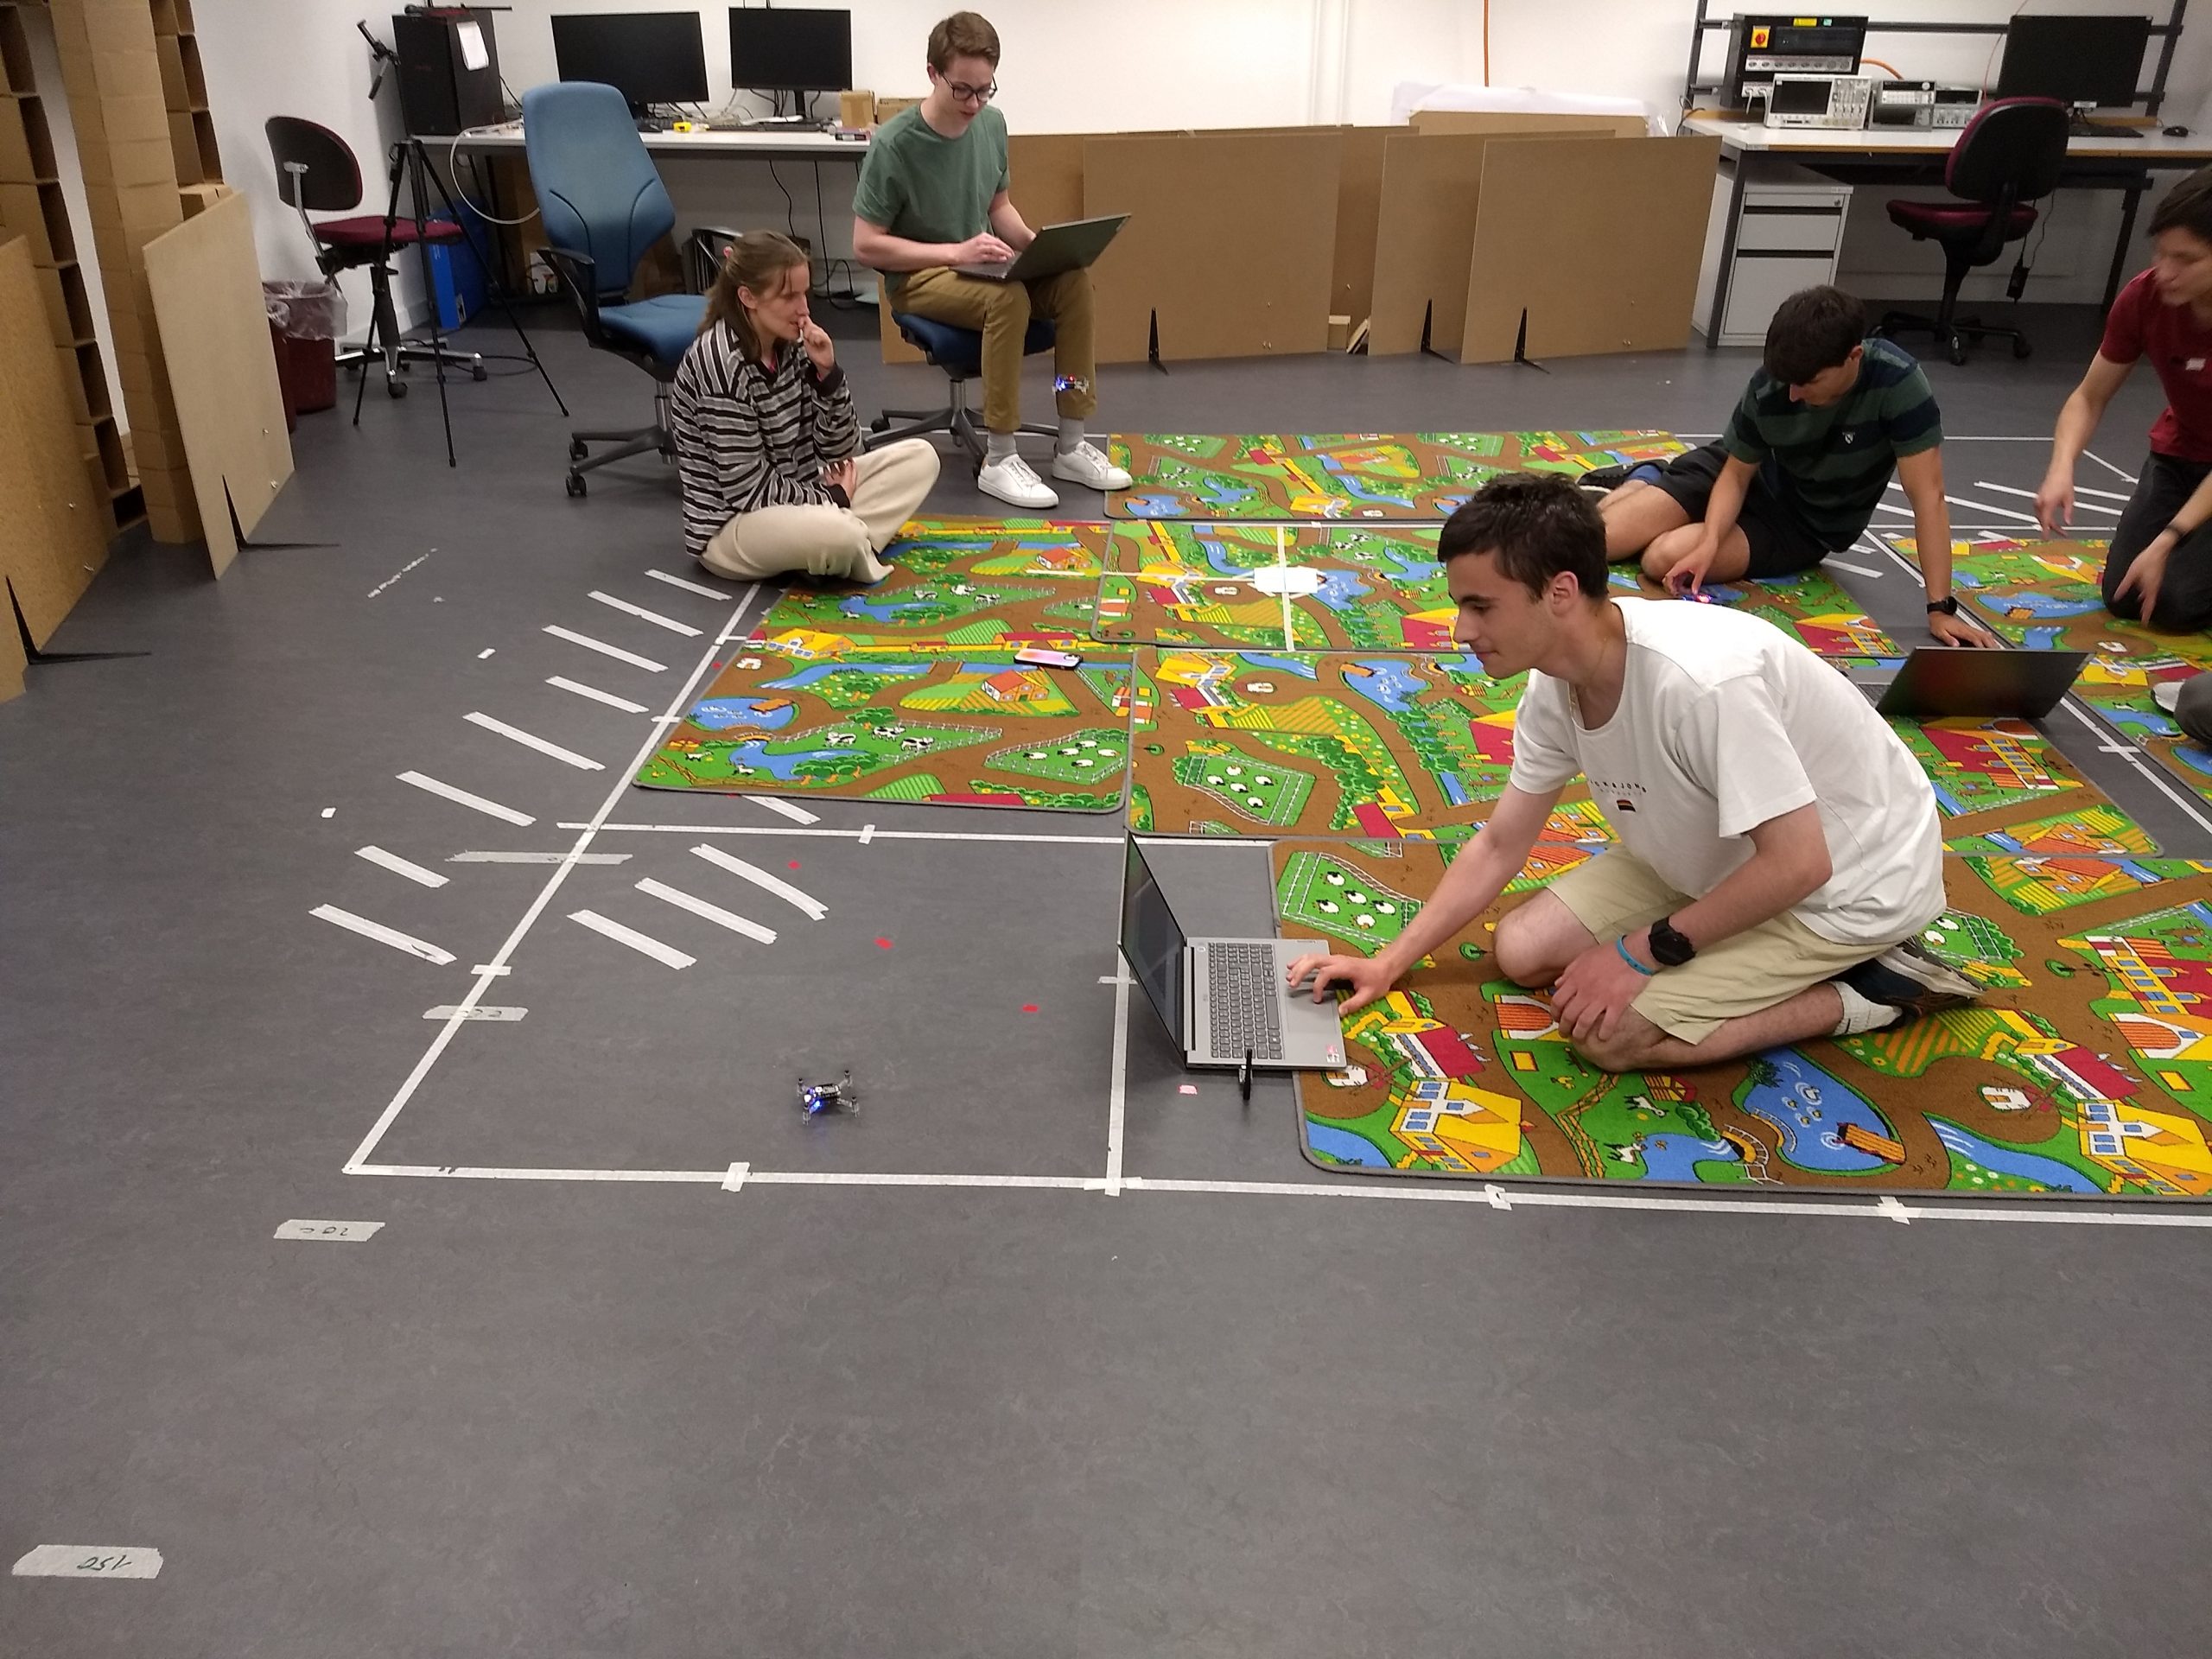
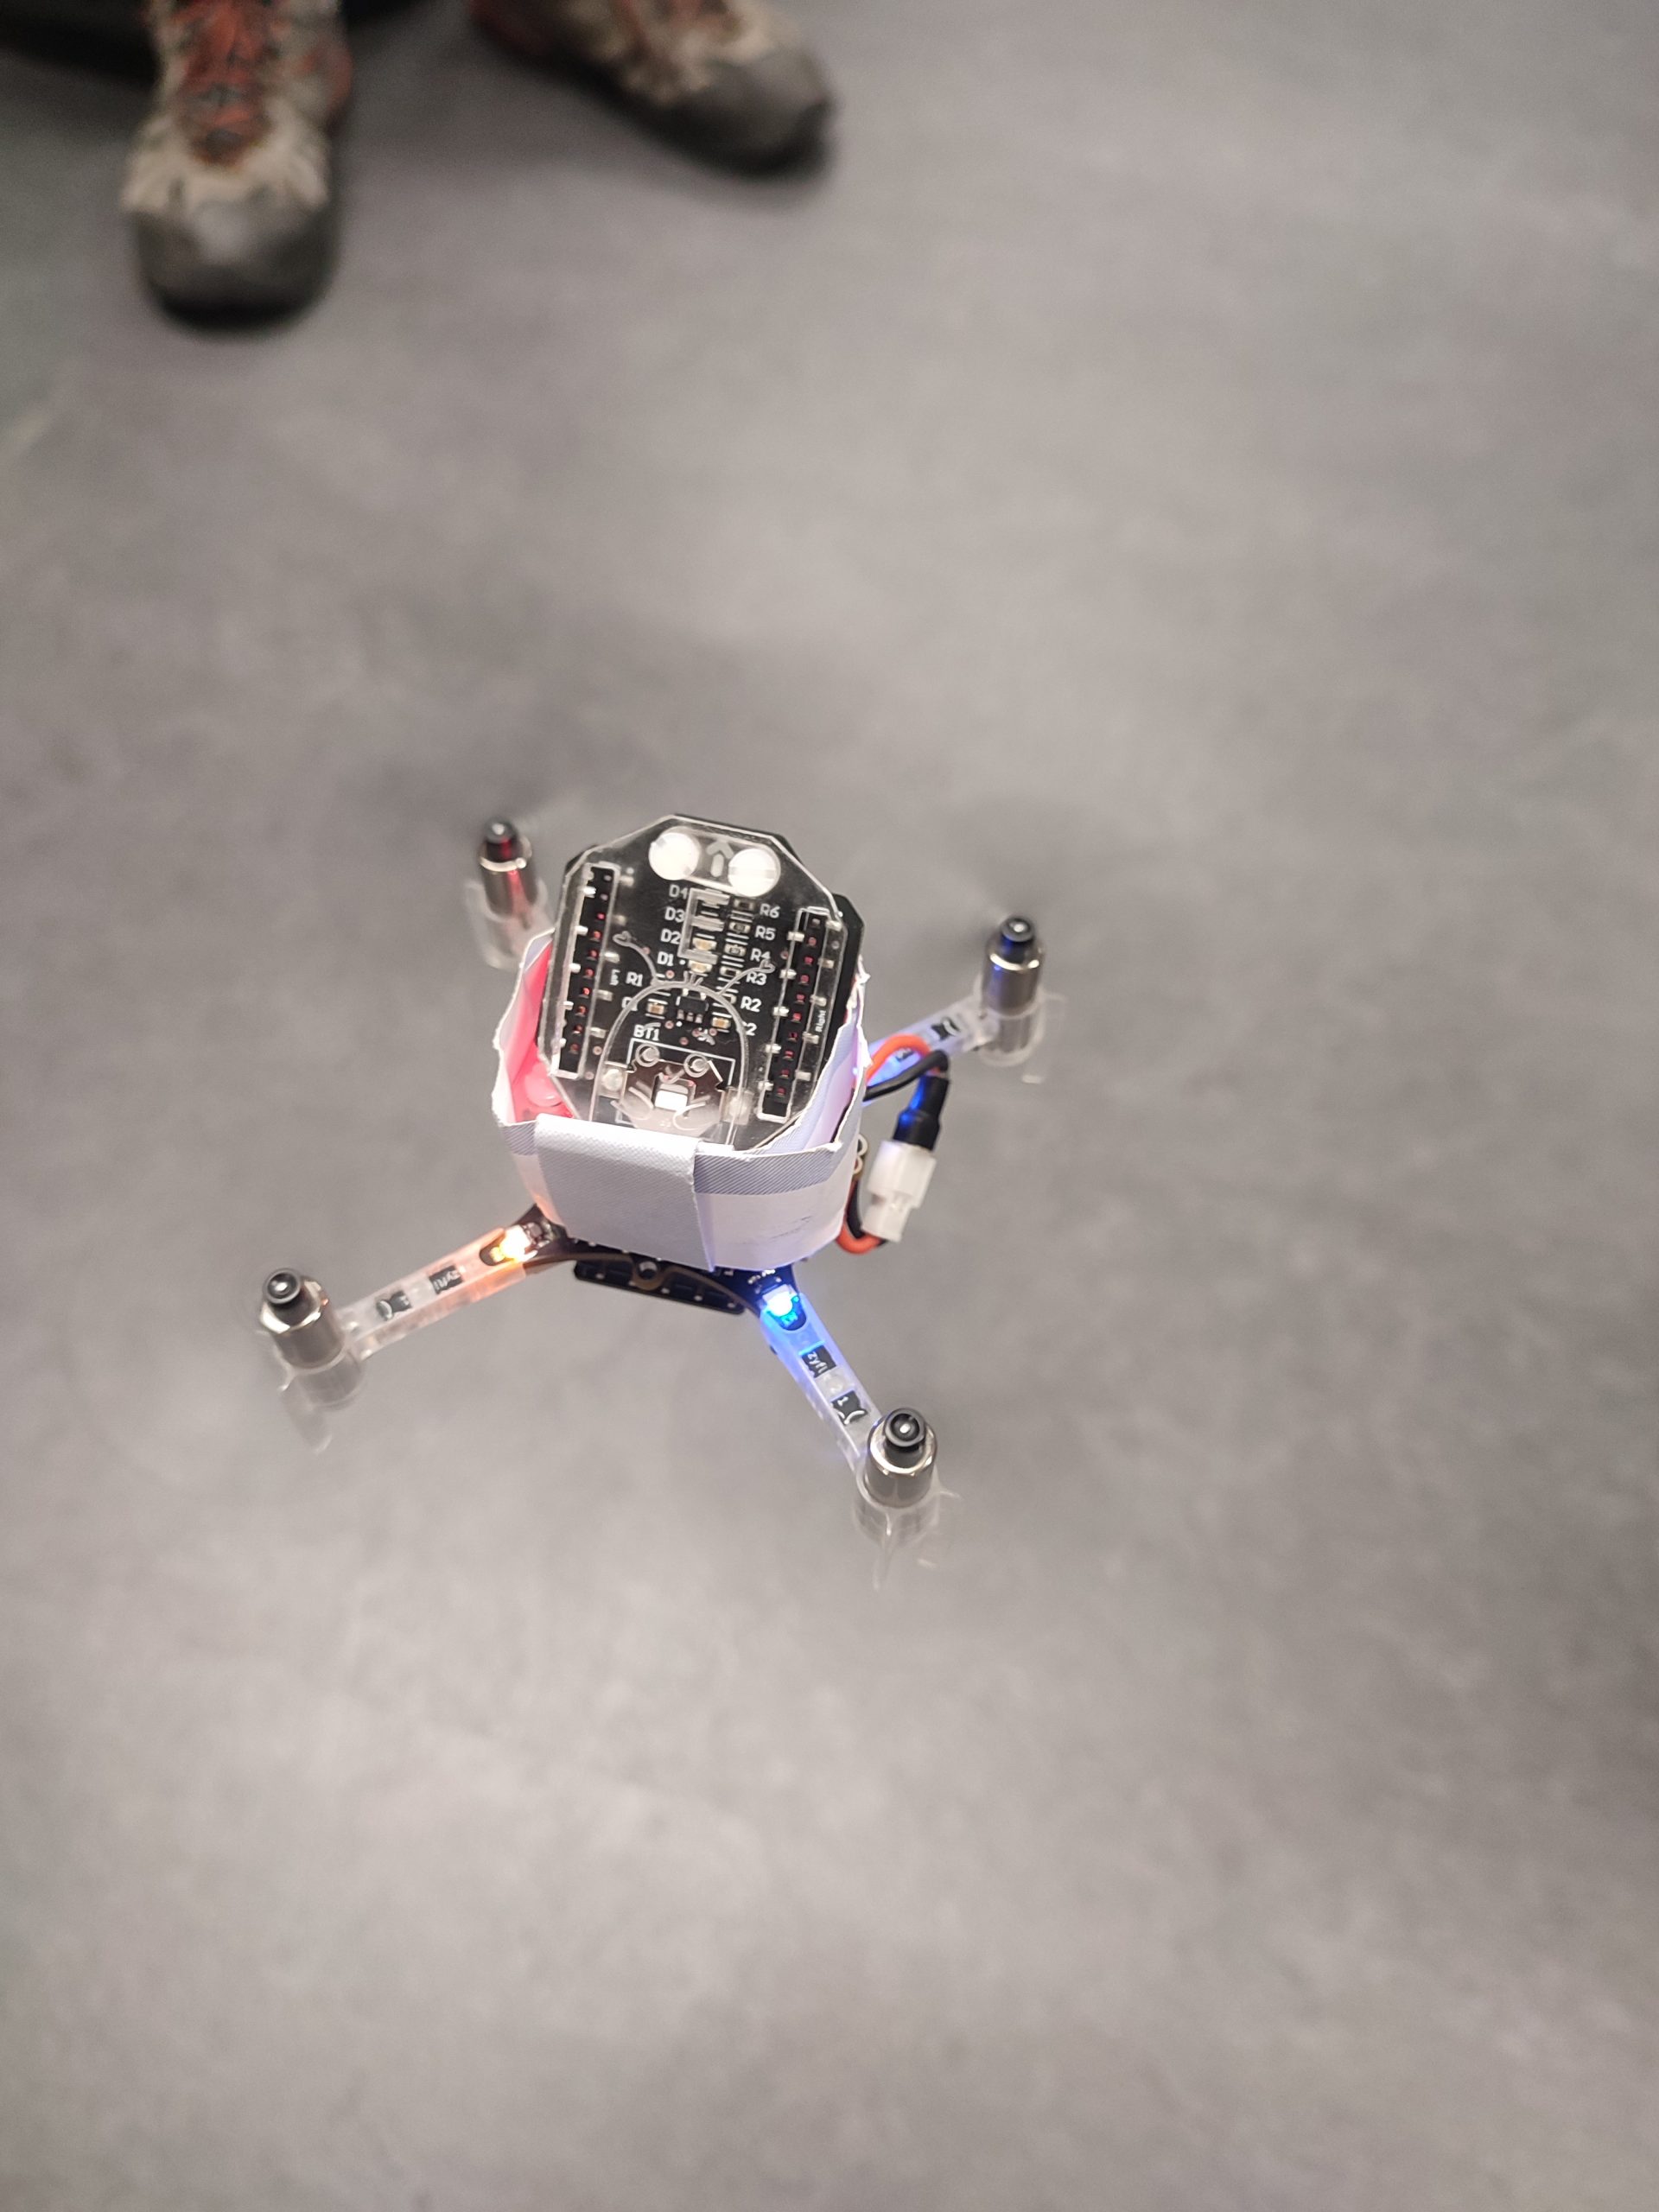
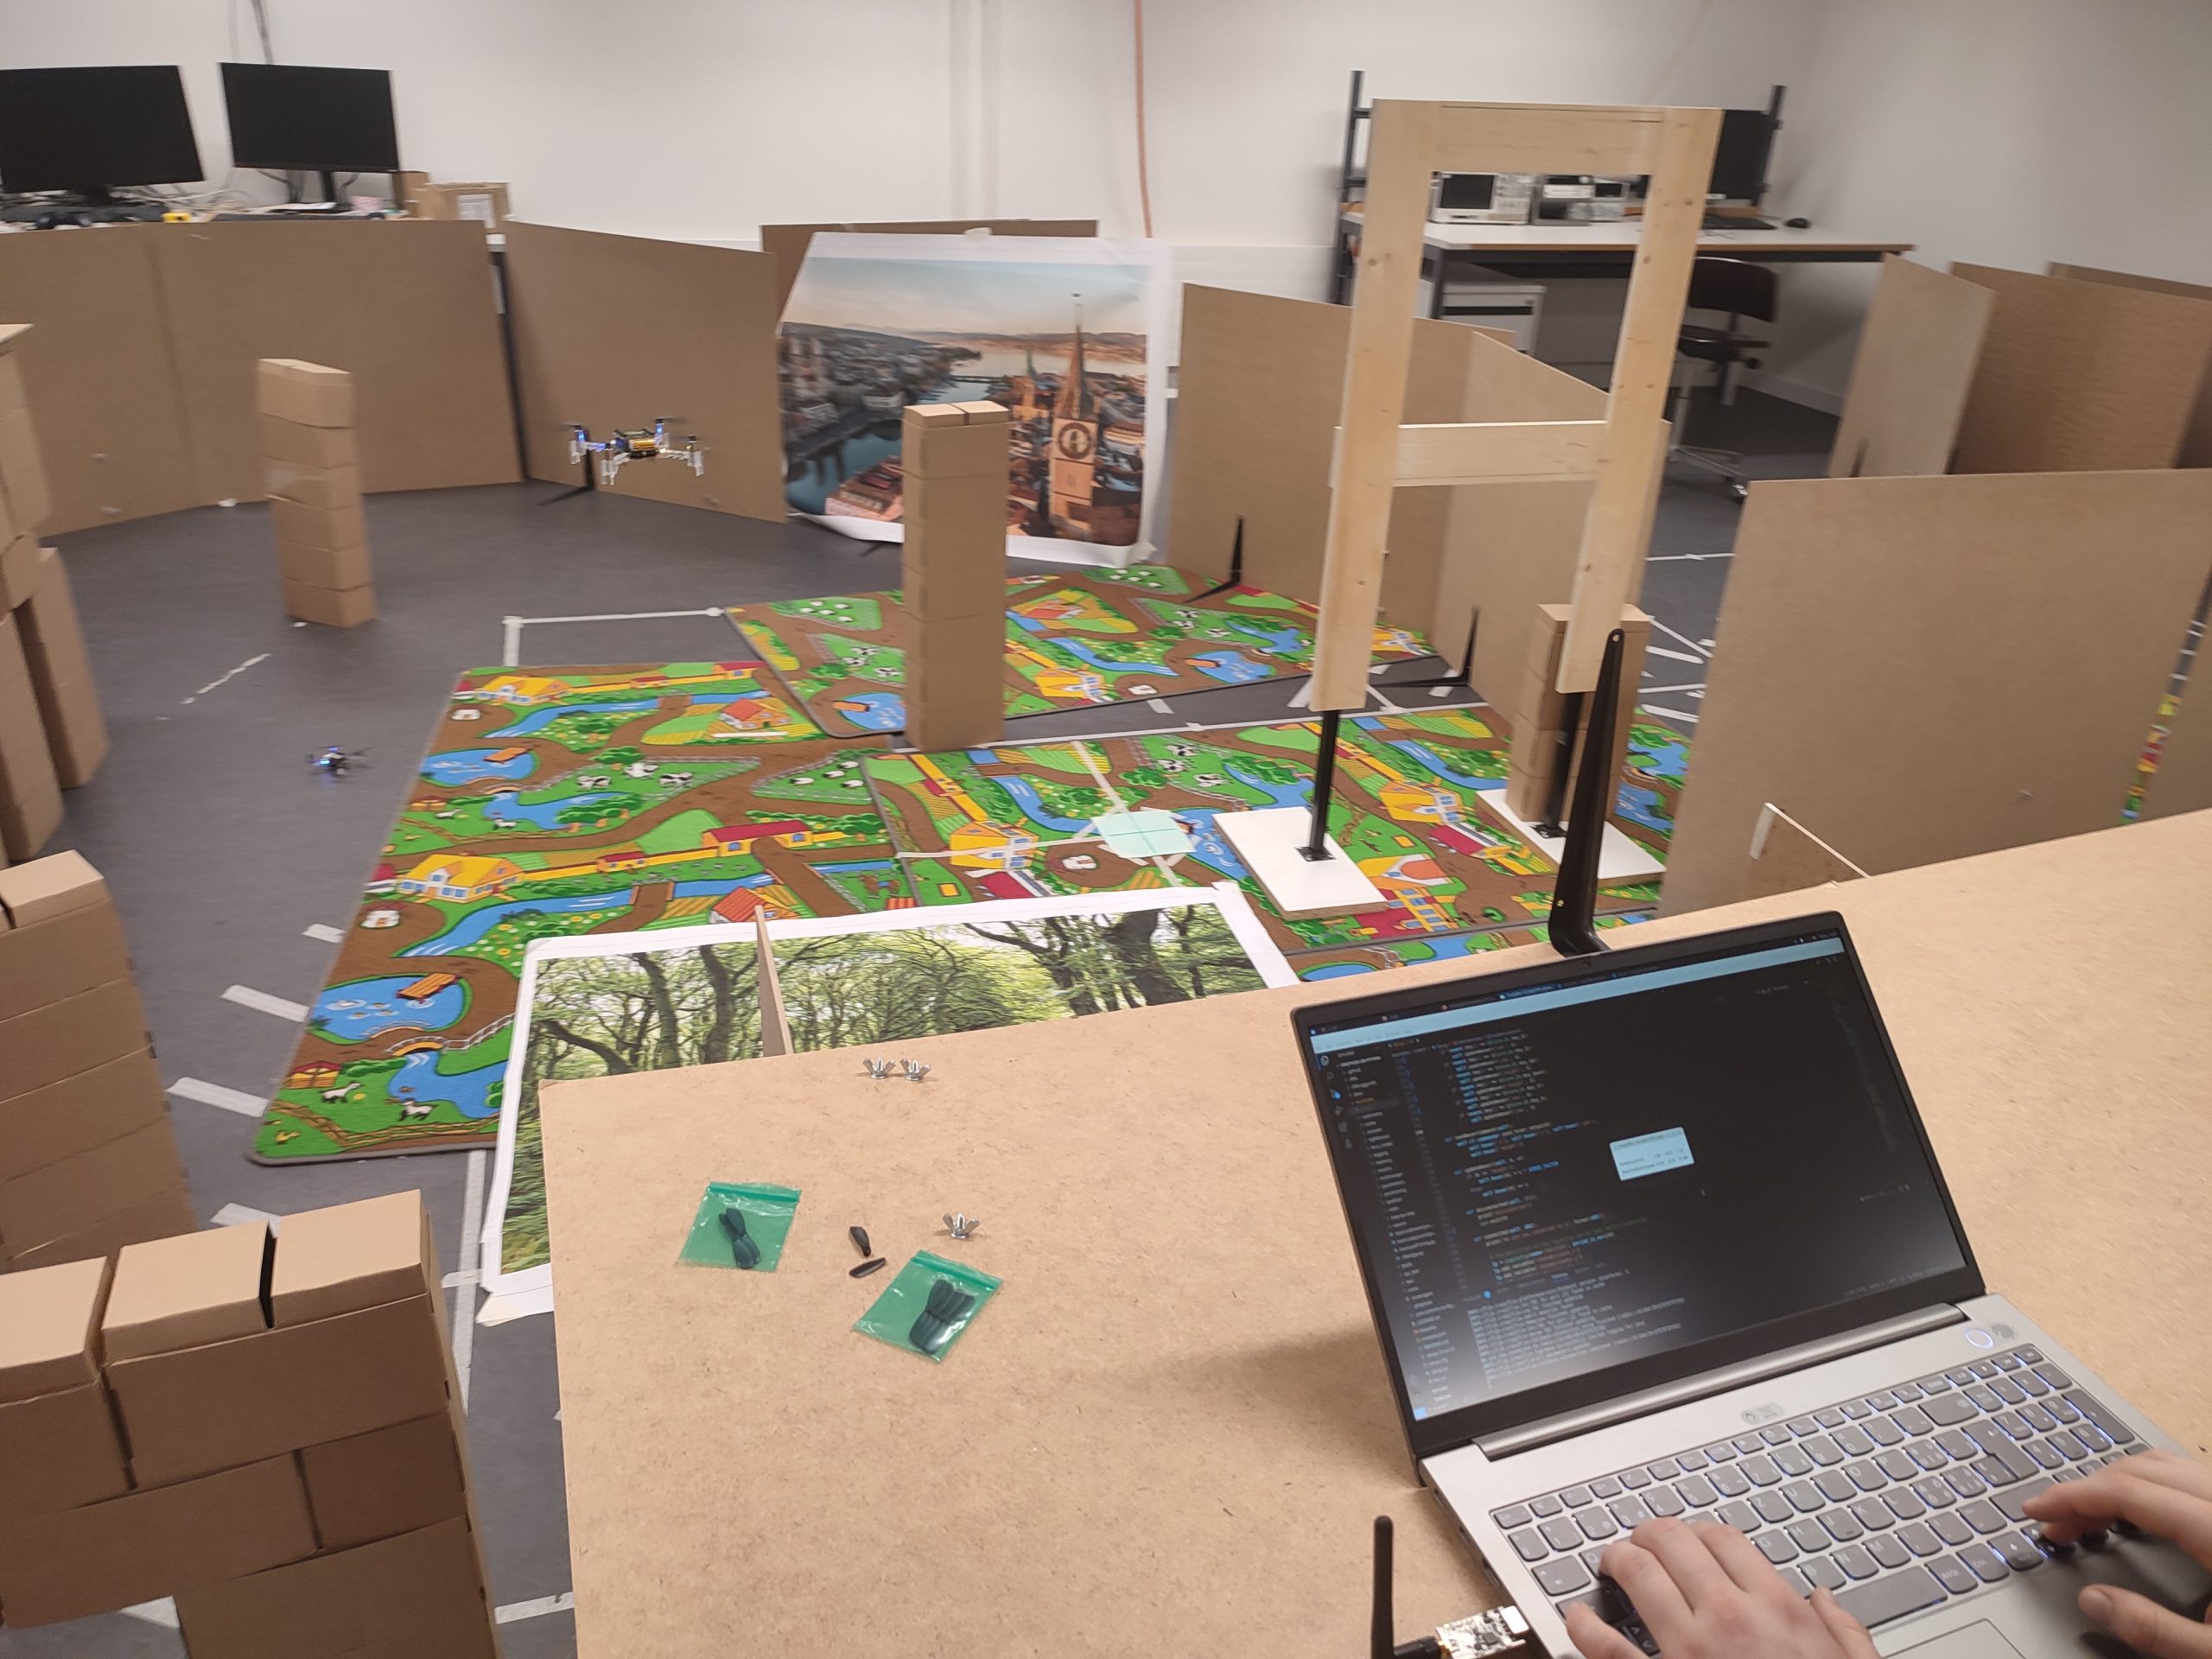
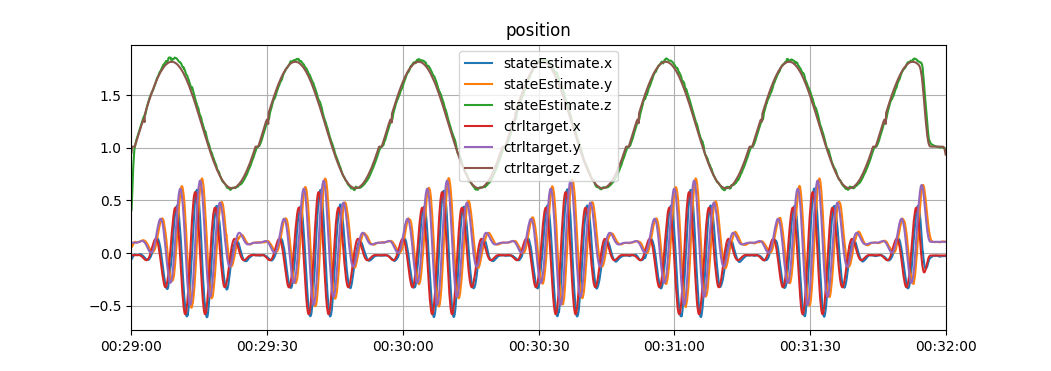
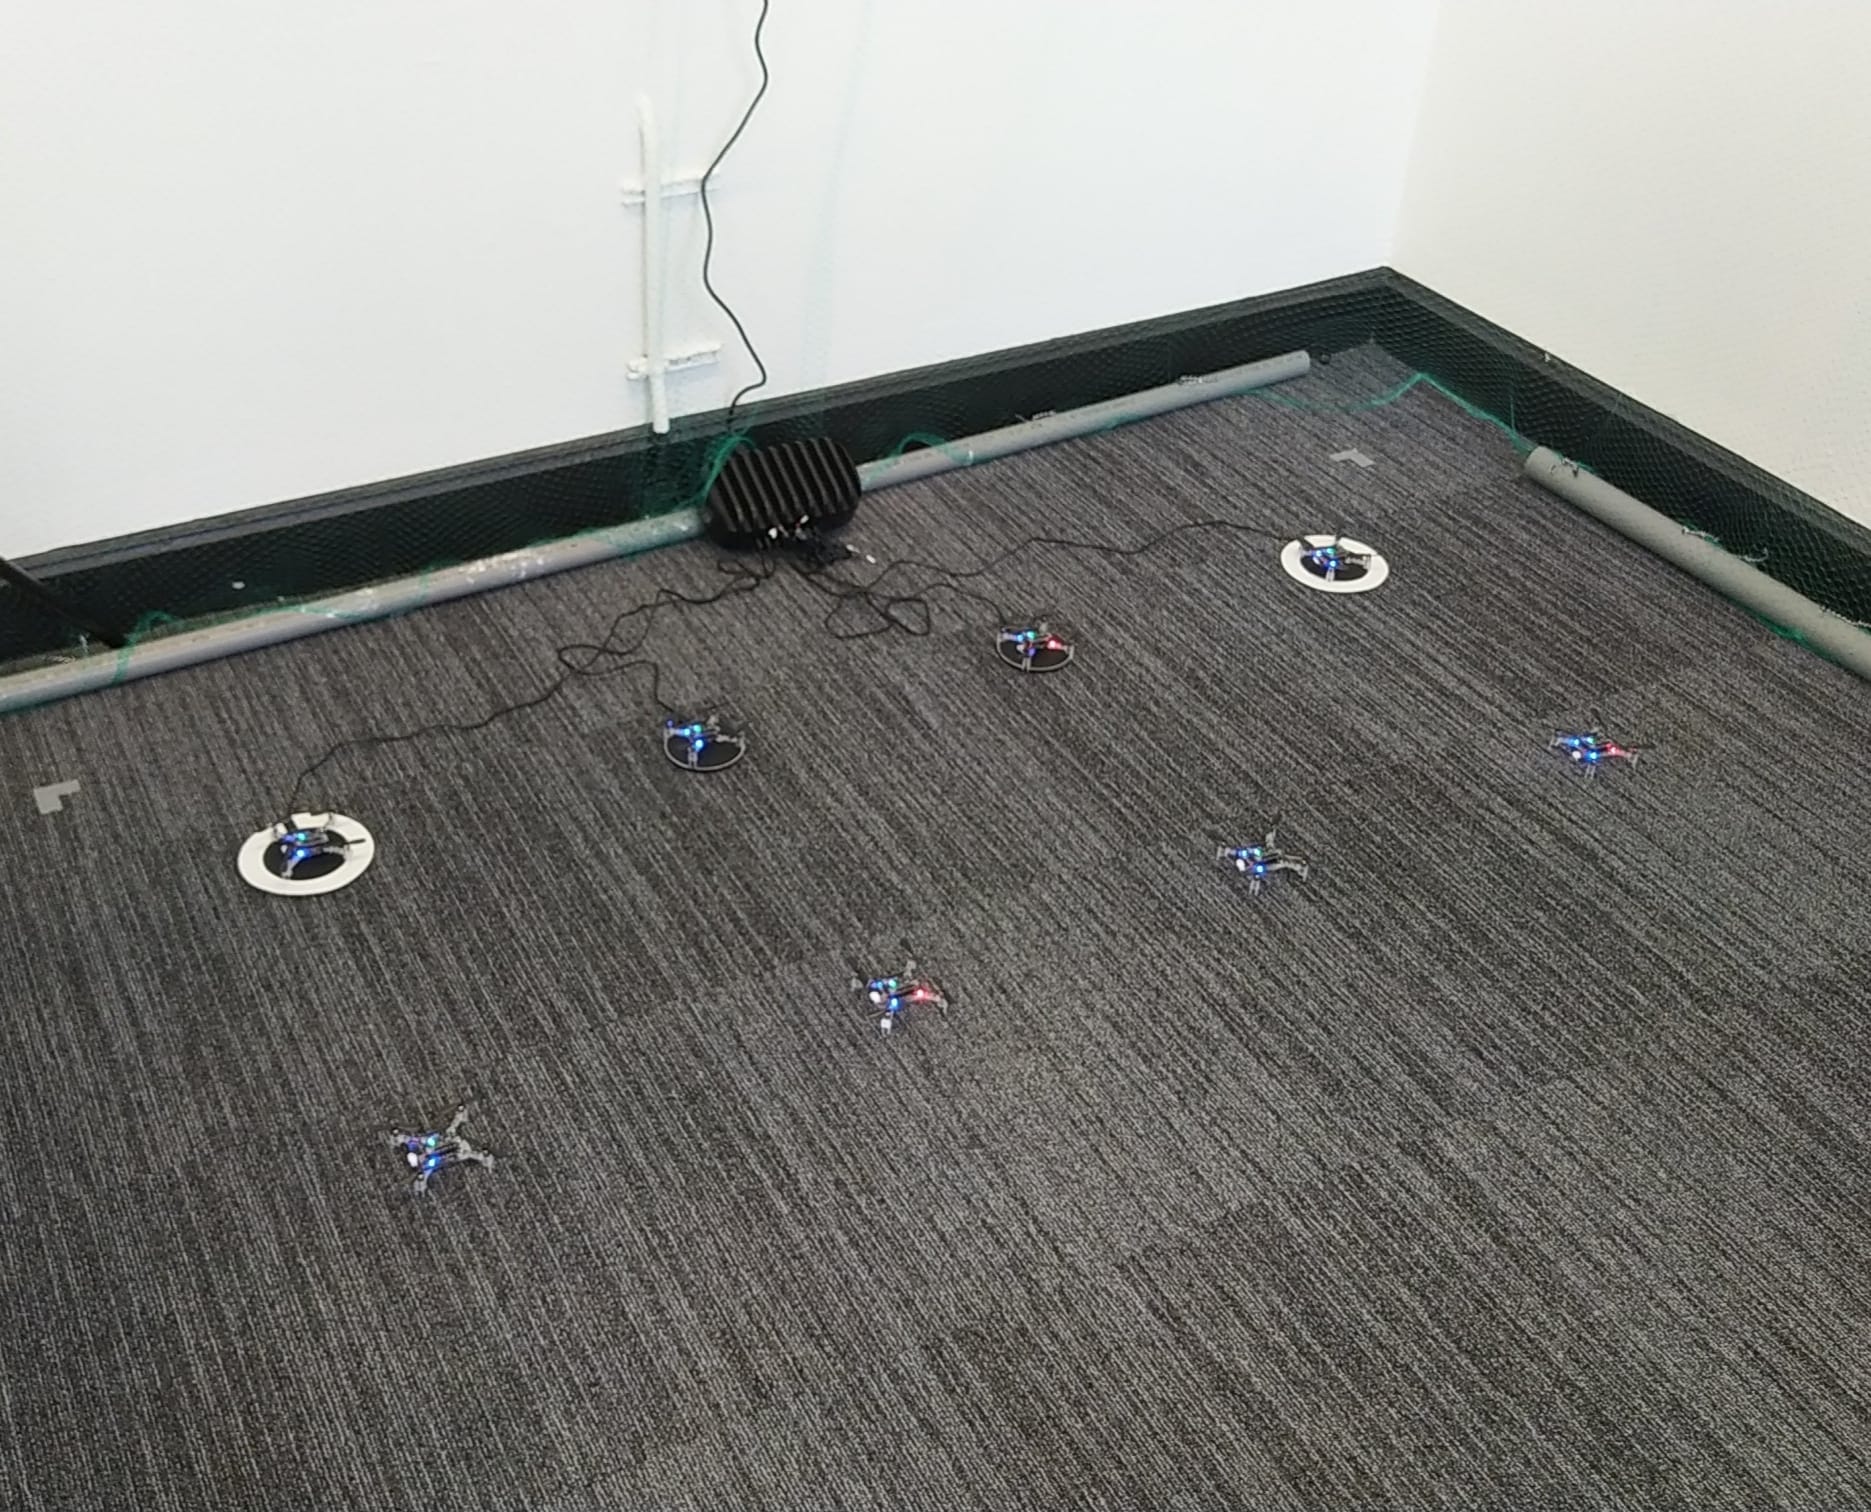
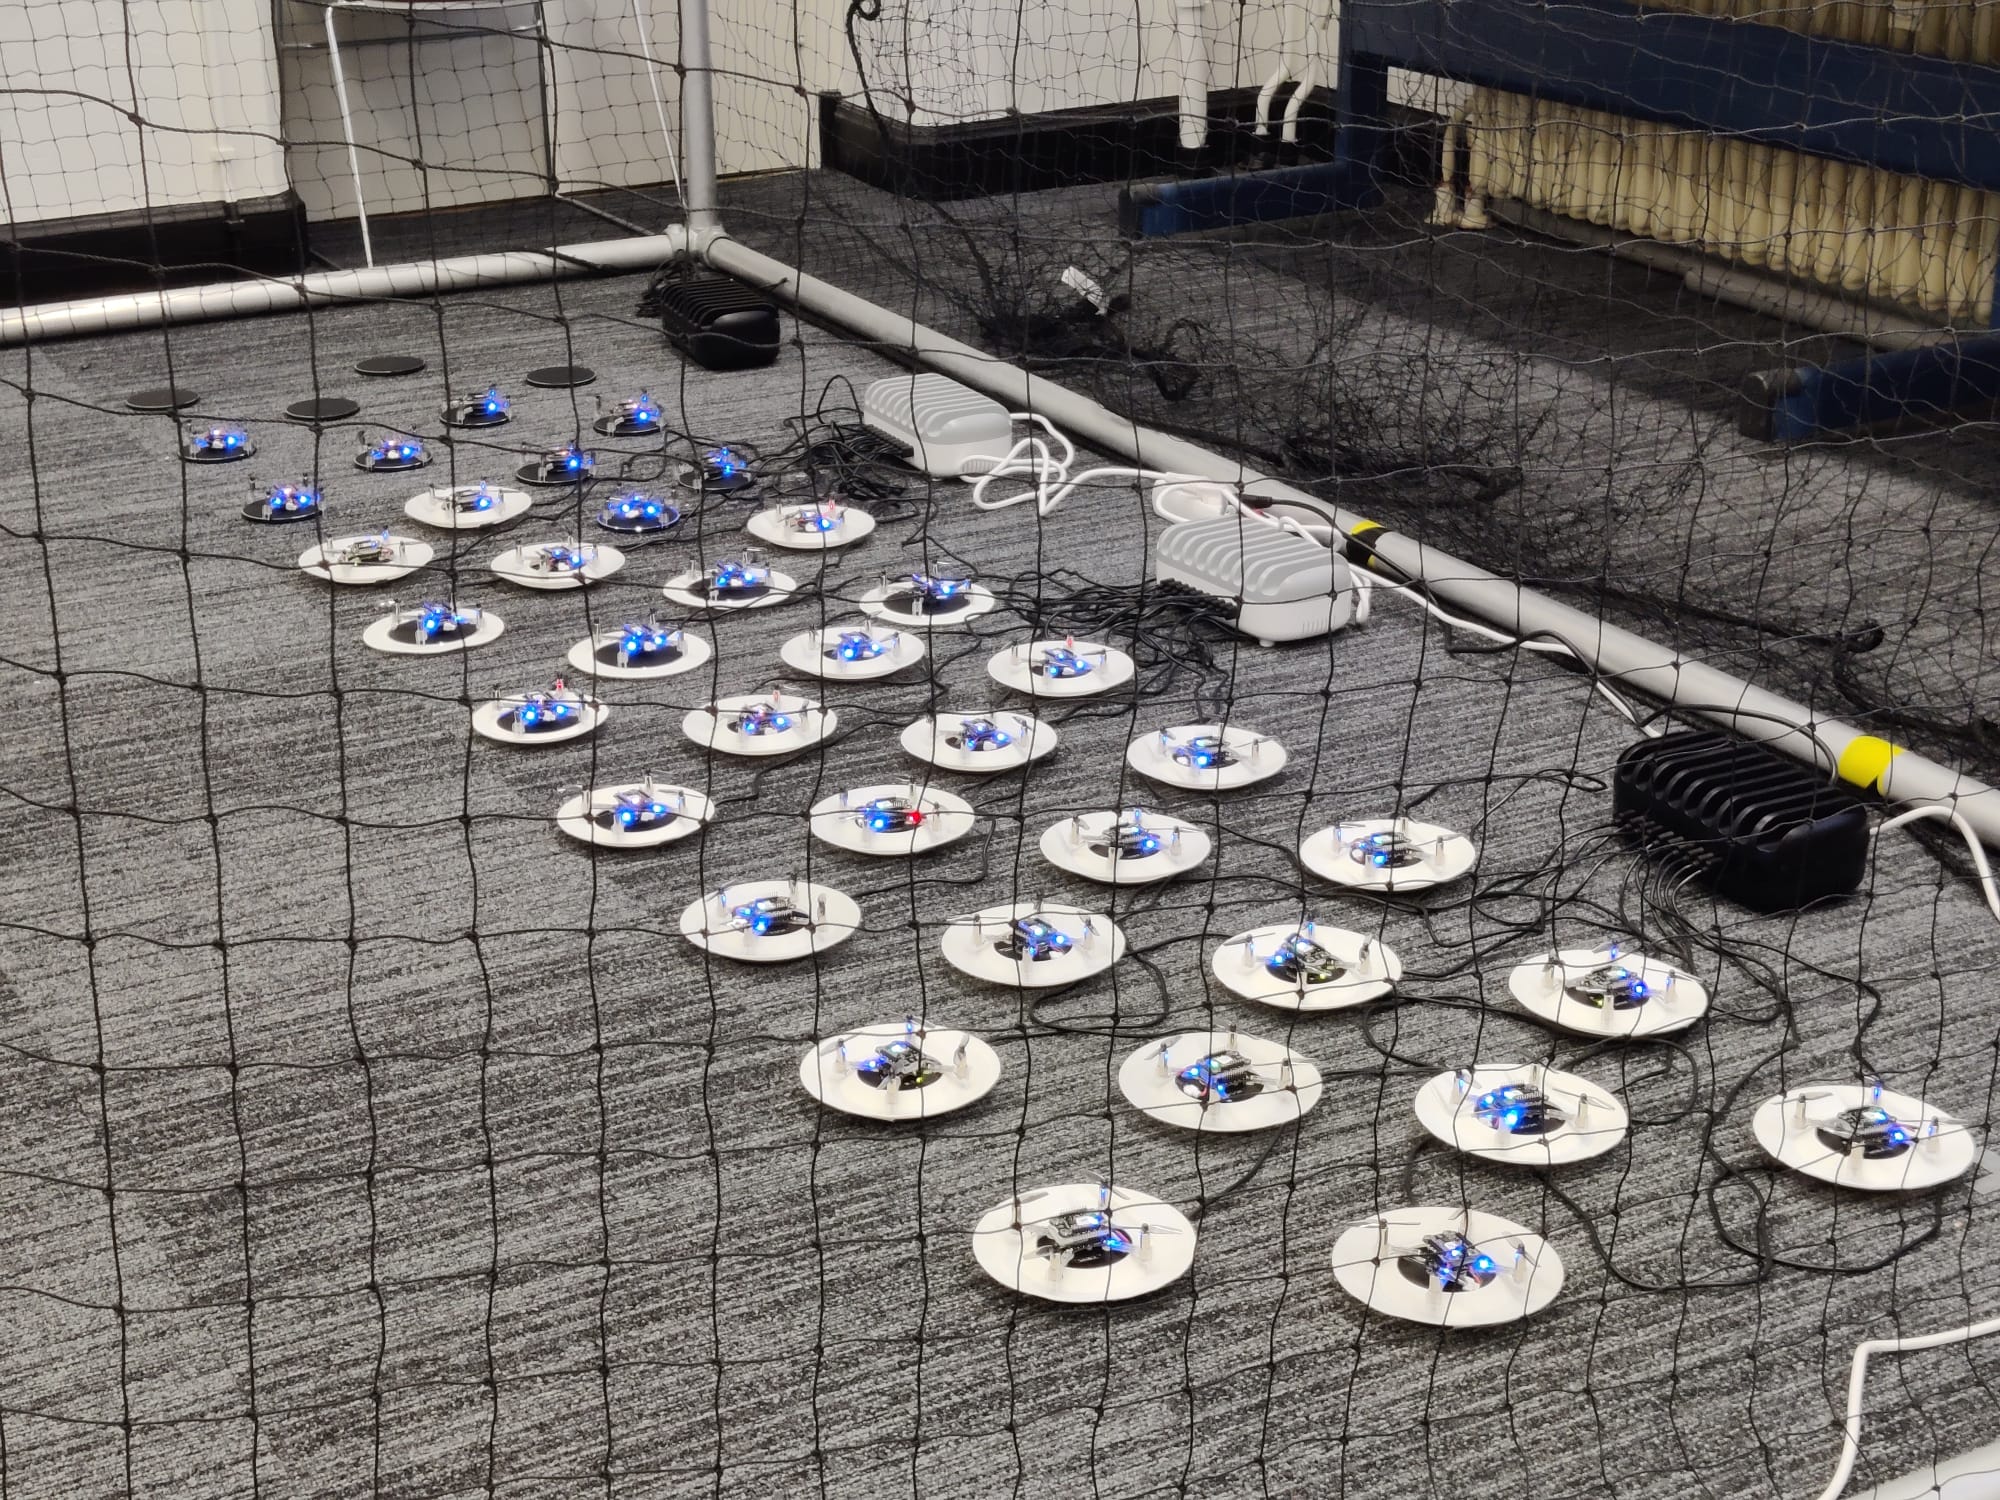
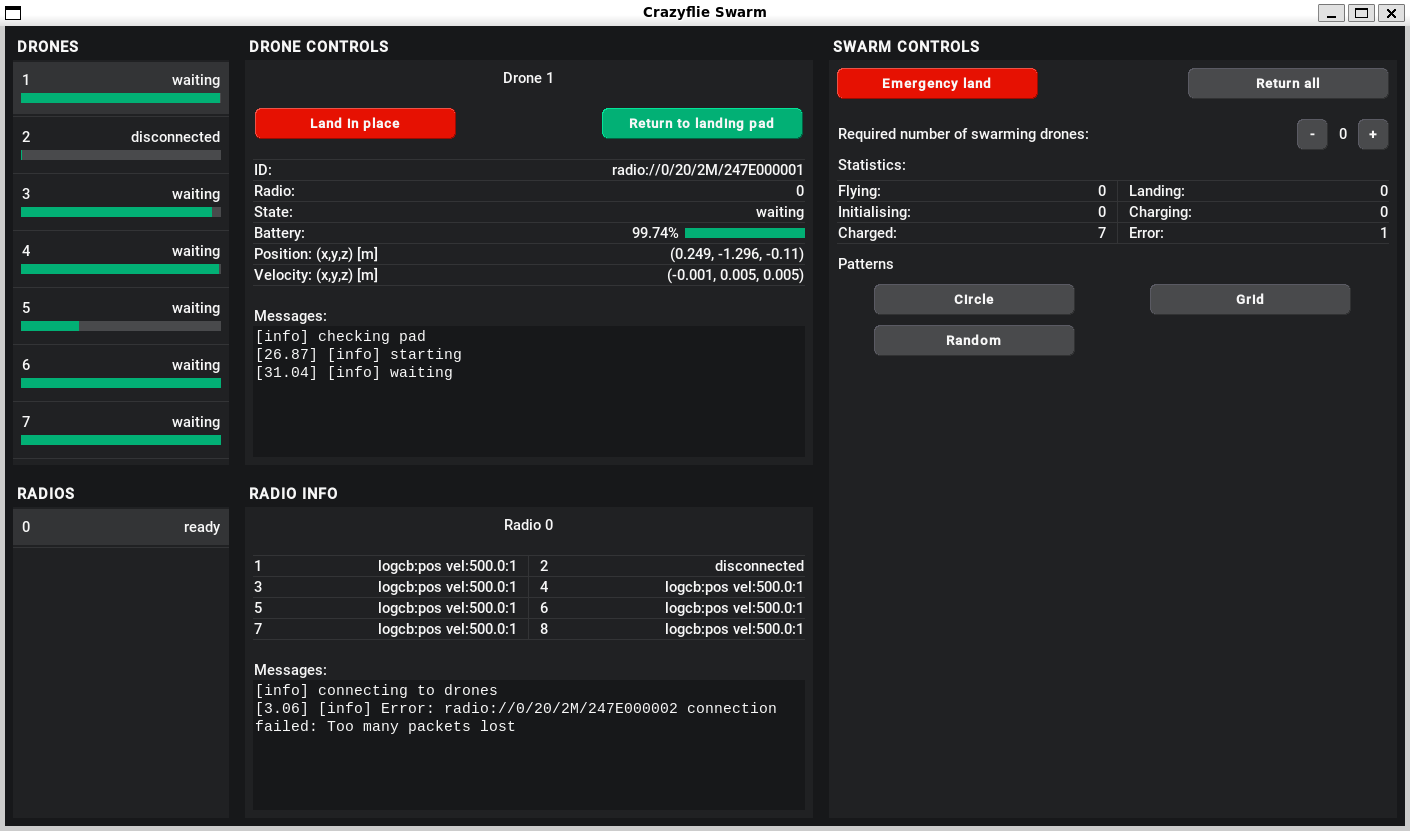
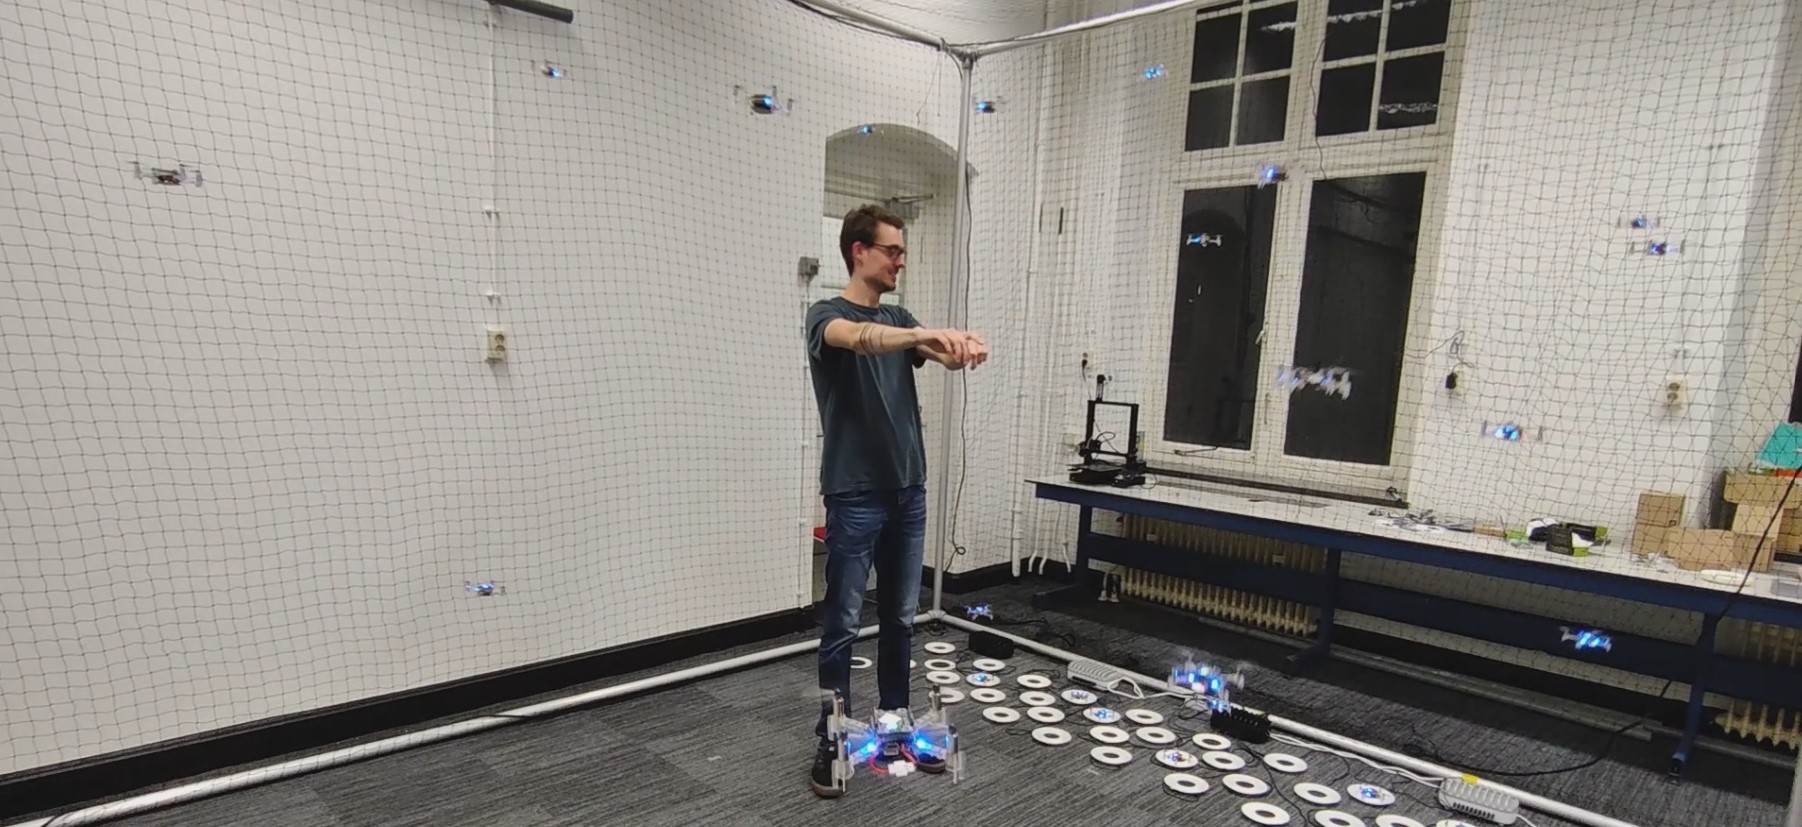
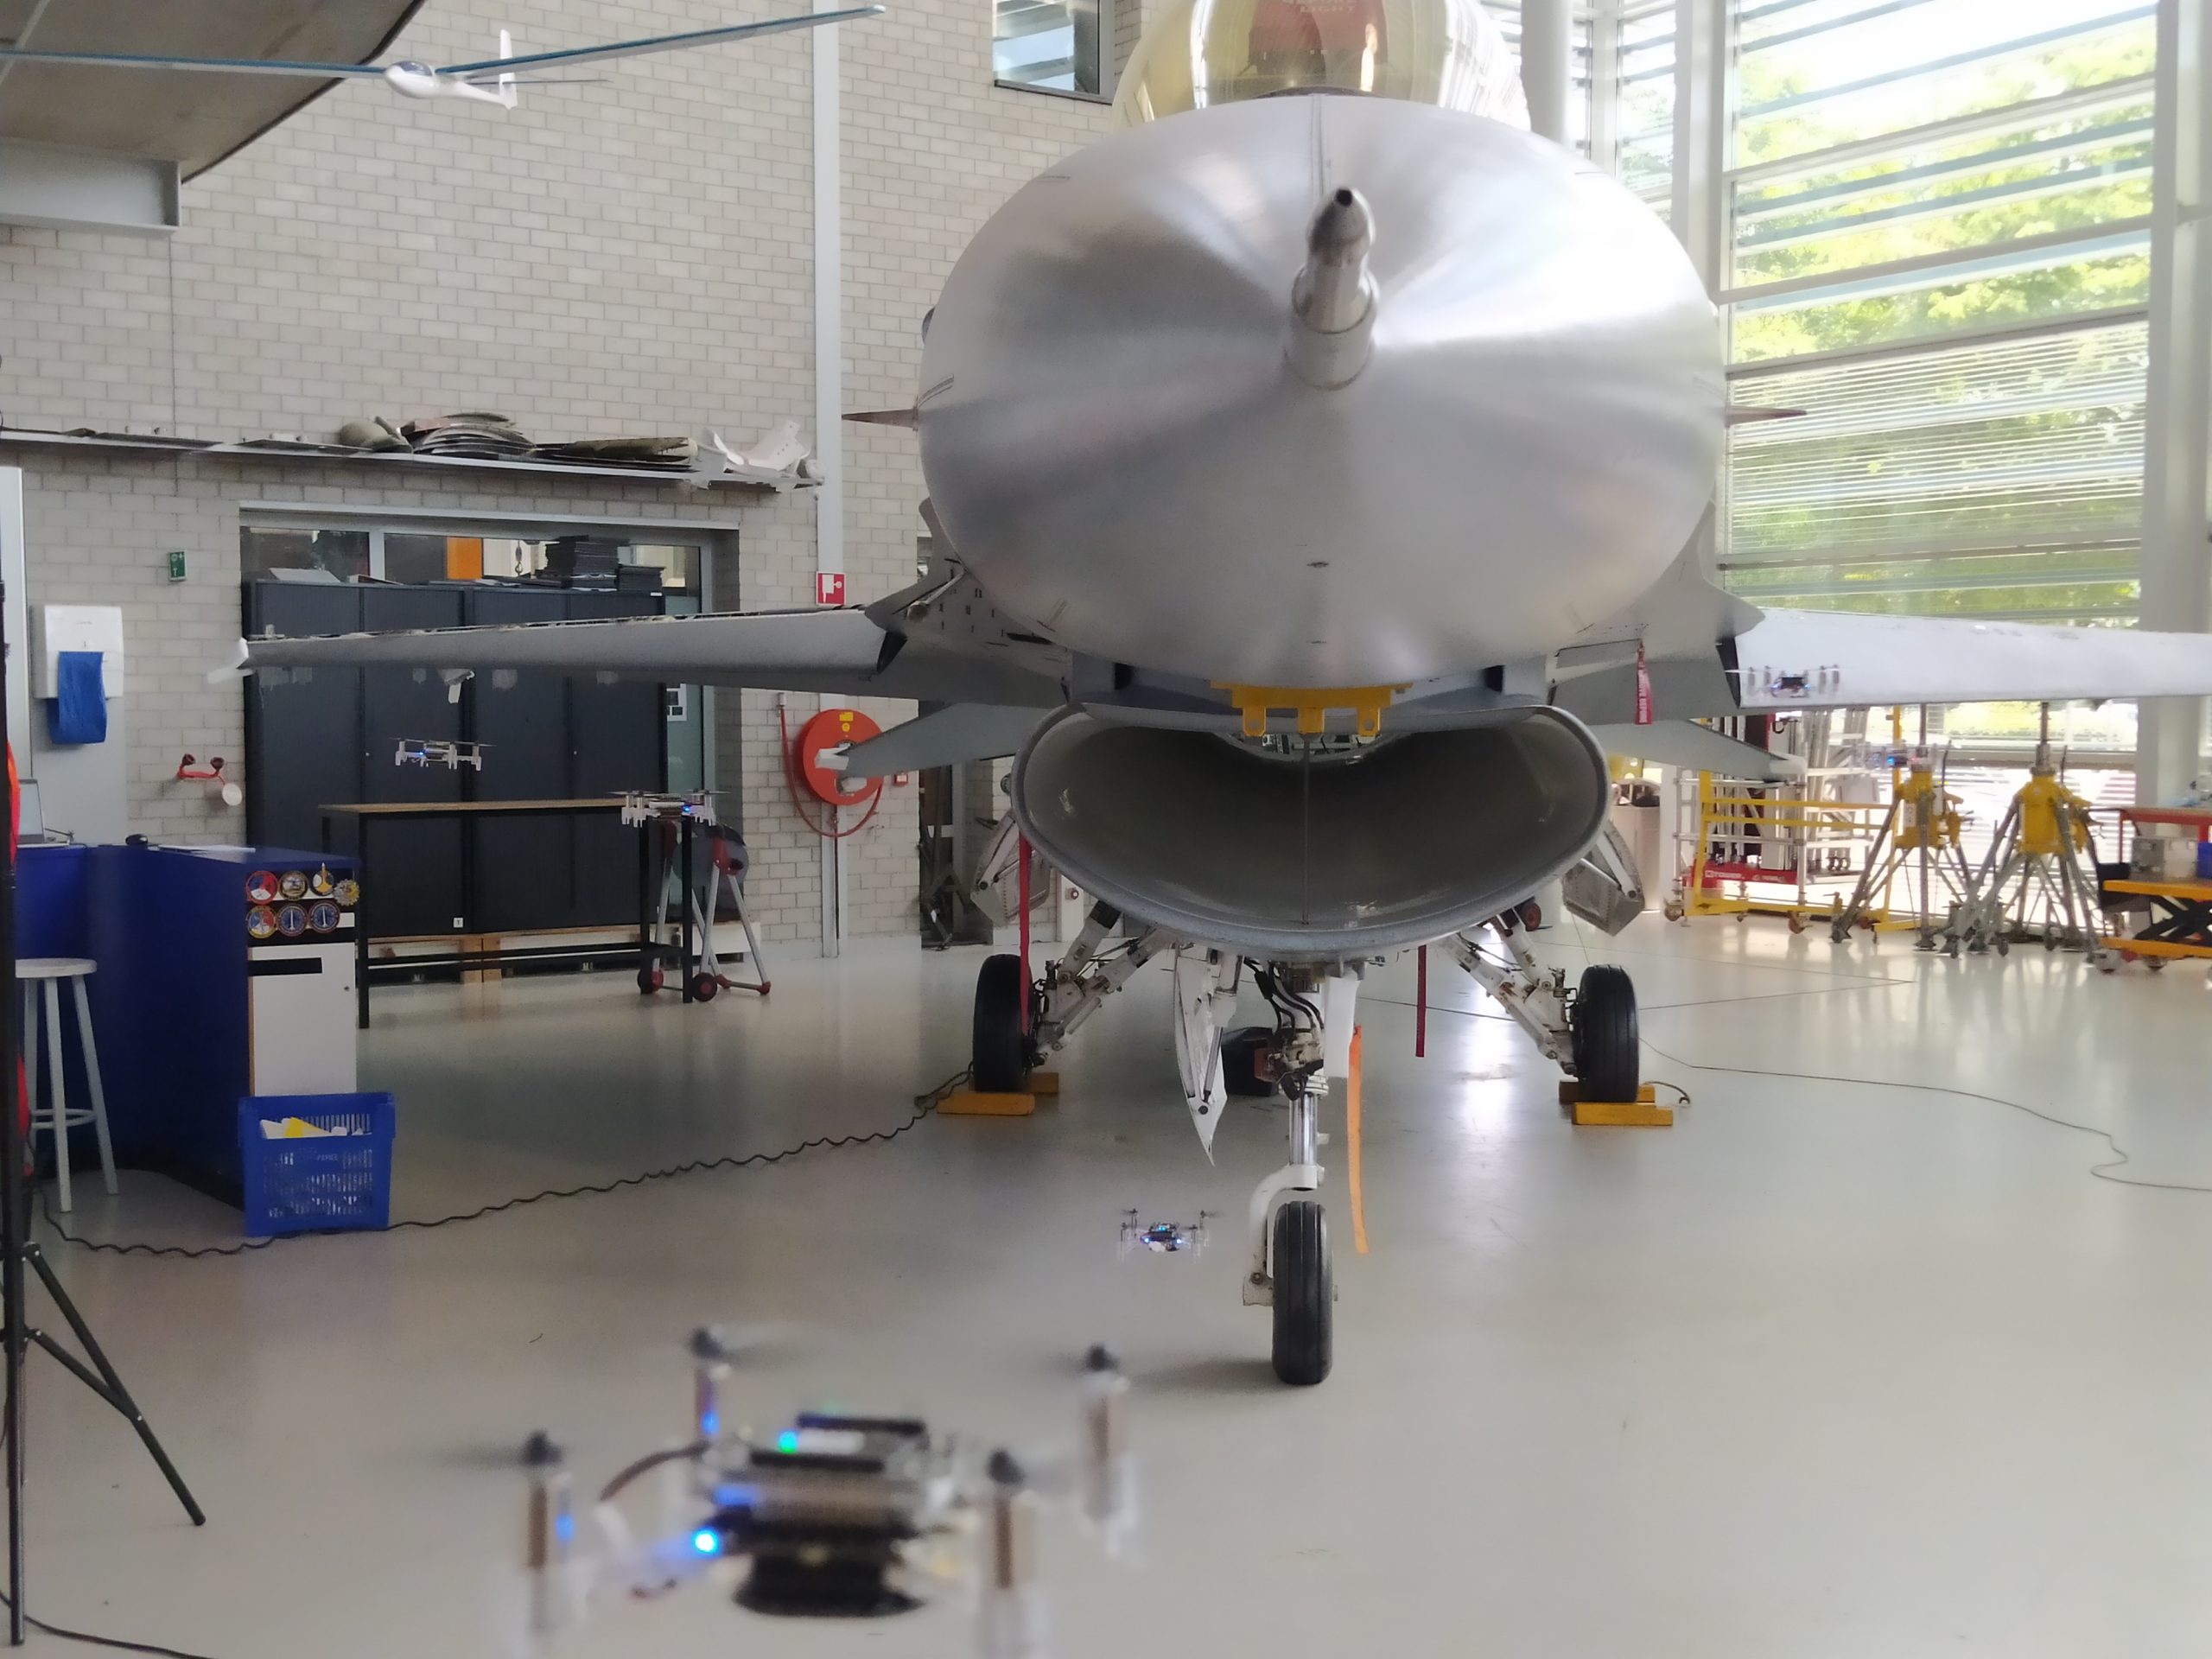
We experimentally demonstrate our approach on a 12 Crazyflie 2.0 swarm testbed in challenging scenes: obstacle-free, obstacle-rich, shared workspace with a human. The experimental video is provided below:
In the simulation, we compare our approach against two SCP approaches: SCP (Continuous) [2] enforces constraints across the entire horizon, while SCP (On-demand) [1] enforces only on the first predicted collision. Our (Axiswise) includes box kinematic constraints, while Our (Quadratic) preserves the original quadratic constraints.
From our simulation results, we see that SCP (On-demand) has a lower compute time than SCP (Continuous), as SCP (On-demand) enforces fewer constraints. But, this compute time trend comes at the expense of success rate. On the contrary, our approaches achieve a high success rate with low compute times. Ours (Quadratic) has a slightly higher success rate than Ours (Axiswise) as it has access to large kinematic bounds.

Fig. Simulation results from 100 start-goal configurations with swarm sizes ranging from 10 to 50 in a cluttered environment with 16 cylindrical static obstacles.
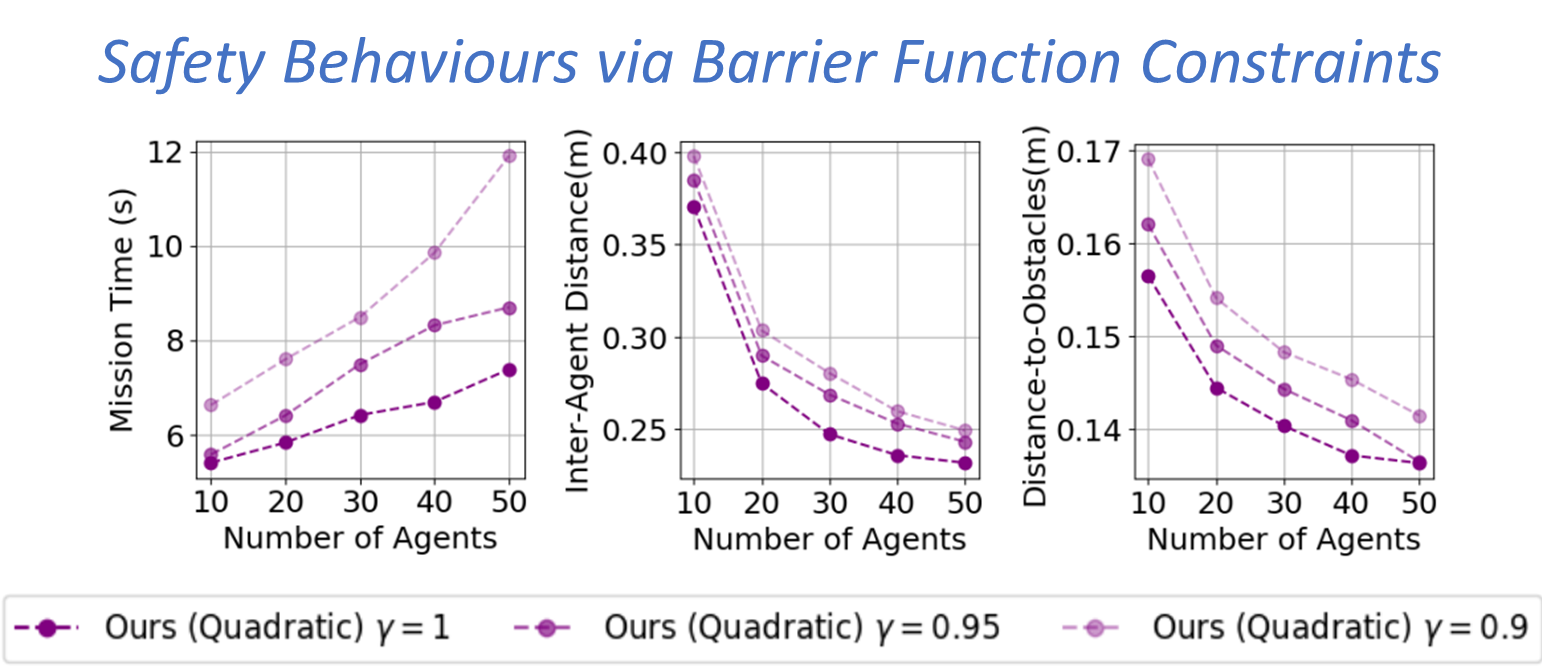
Fig. Simulation results from 100 start-goal configurations with swarm sizes ranging from 10 to 50 and three different γvalues in a cluttered environment with 16 cylindrical static obstacles.
On average, our approaches achieved a 72% success rate improvement, a 36% reduction in mission time, and 42x faster per-agent computation time—our approach trades-off mission time with inter-agent clearance and distance to obstacles via BF constraints.
Outlook
In this work, we presented an online and scalable trajectory planning algorithm for quadrotor swarms in cluttered environments that do not rely on the linearization of collision avoidance constraints and axis-wise decoupling of kinematic constraints. We do so by reformulating the quadratic constraints to a polar form and applying alternating minimization to the resulting problem. Consequently, our planner achieves high scalability and low computation times than existing approaches. We also show that we can reformulate barrier function constraints to introduce safety behaviours in the swarm. One of the future works is to extend the approach to navigate the swarm in a complex 3D environment.
References
[1] Luis, Carlos E., Marijan Vukosavljev, and Angela P. Schoellig. “Online trajectory generation with distributed model predictive control for multi-robot motion planning.” IEEE Robotics and Automation Letters 5.2 (2020): 604-611.
[2] E. Soria, F. Schiano and D. Floreano, “Distributed Predictive Drone Swarms in Cluttered Environments,” in IEEE Robotics and Automation Letters, vol. 7, no. 1, pp. 73-80, Jan. 2022, doi: 10.1109/LRA.2021.3118091.
[3] V. K. Adajania, S. Zhou, A. K. Singh and A. P. Schoellig, “AMSwarm: An Alternating Minimization Approach for Safe Motion Planning of Quadrotor Swarms in Cluttered Environments,” 2023 IEEE International Conference on Robotics and Automation (ICRA), London, United Kingdom, 2023, pp. 1421-1427, doi: 10.1109/ICRA48891.2023.10161063.
Links
- Video: https://youtu.be/eIBcOKq5_Jk
- Paper: https://arxiv.org/abs/2303.04856
- Code: https://github.com/utiasDSL/AMSwarm
- Our Lab: http://www.learnsyslab.org
The authors are with the Learning Systems and Robotics Lab at the University of Toronto and the Technical University of Munich. The authors are also affiliated with the Vector Institute for Artificial Intelligence and the University of Toronto Robotics Institute (RI) in Canada and the Munich Institute of Robotics and Machine Intelligence (MIRMI) in Germany.
Feel free to contact us with any questions or ideas: vivek.adajania@robotics.utias.utoronto.ca. Please cite this as:
@INPROCEEDINGS{
adajania2023amswarm,
author={Adajania, Vivek K. and Zhou, Siqi and Singh, Arun Kumar and Schoellig, Angela P.},
booktitle={2023 IEEE International Conference on Robotics and Automation (ICRA)},
title={AMSwarm: An Alternating Minimization Approach for Safe Motion Planning of Quadrotor Swarms in Cluttered Environments},
year={2023},
pages={1421-1427},
doi={10.1109/ICRA48891.2023.10161063}
}