During the summer we were discusses at the office of what would be a good substitute of us not being able to go to conferences or fairs anymore (see this blogpost). We sparred with a few ideas, ranging from organizing an online competition to an seminar. Although we initially were quite enthusiastic about organizing the competition, the user questionnaire from the previous blog-post showed us that many of you are rather interested in online tutorials. Based on that we actually started to make some more step-by-step guides, however we definitely would agree that is not the same as meeting each-other face-to-face!
So now we are planning to organize one for real this time! So our first online live tutorial will be on:
Wednesday 4th of November, 18:00 (CET, Malmö Sweden)
Register for the first session here to indicate your interest and to receive up-to-date information. There are of course no cost involved!
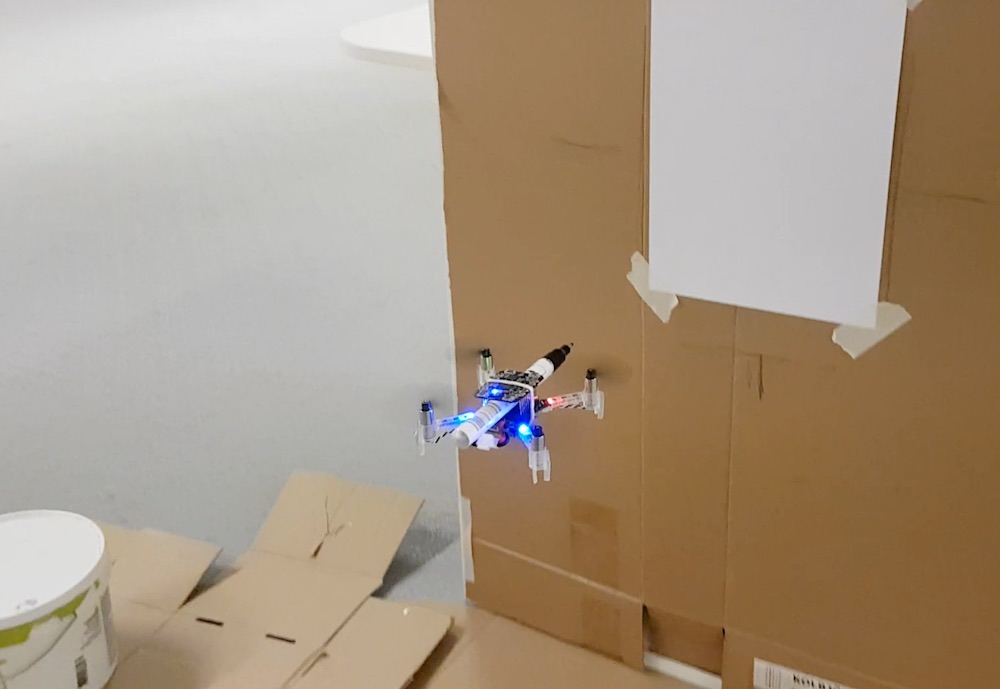
First topic: Spiraling Swarm Demo (Live!)
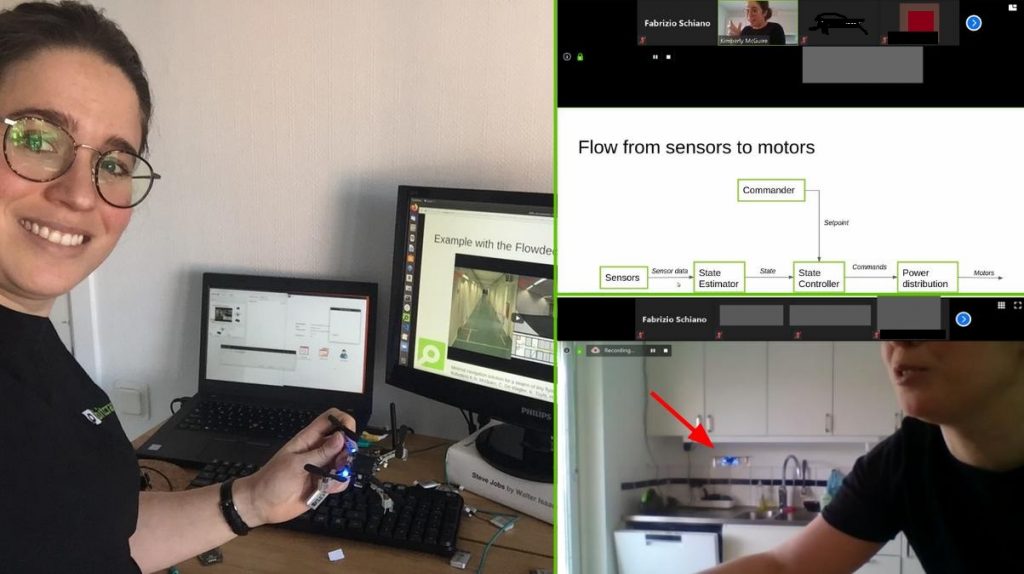
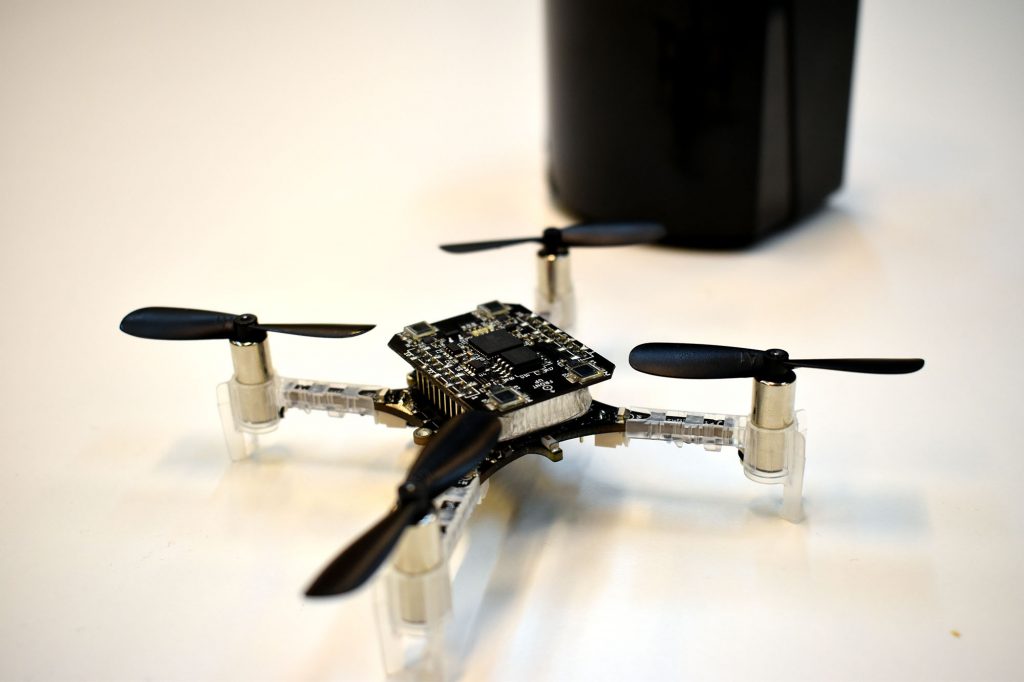
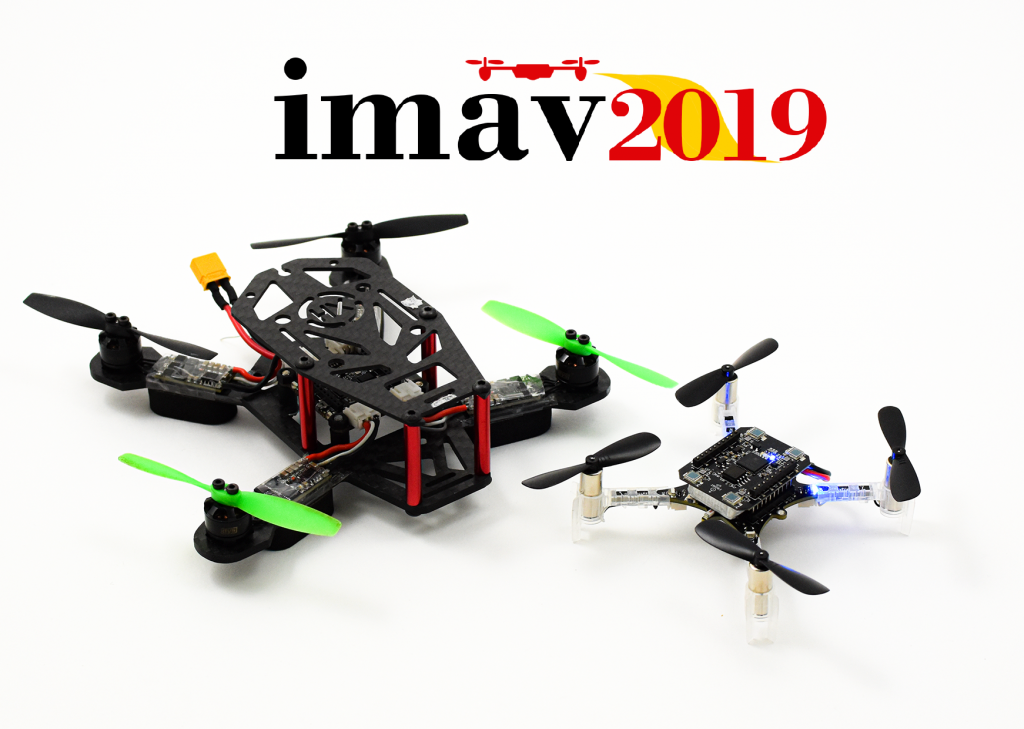
The last couple of years we have been showing our demo at many robotics conferences and fairs, such as ICRA, IMAV and IROS. Since we do not have a opportunity to do that anymore (at least for the foreseeable future), we thought that a suitable first topic of the online tutorial to be about the Spiraling Swarm demo! We will go through the different elements of the demo, which includes the implementation details on the Crazyflie and the Lighthouse Positioning system. We hope to explain all of in about 20-30 minutes and that this would enable you to set the demo up yourself if you want.
We have been thinking about just doing a prerecorded tutorial, however we also really like to talk with our users about their needs and research topics. That is why we think it is important to do it live where we can answer your questions on the go or after the tutorial. This also means that we will be demonstrating the demo live as well! Afterwards we will have a social interaction where we have a friendly chat :)
Mozilla Hubs and Discord
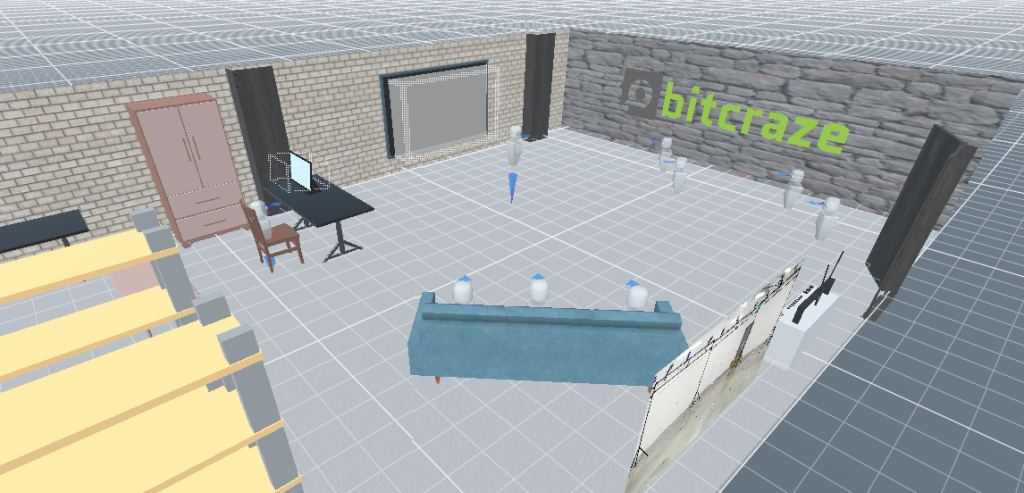
There are so many options on how to exactly host this event, as there are a gazillion alternatives for video conferencing. Currently we have are looking at Mozilla hubs. which fits nicely with our interests in the lighthouse positioning system with the HTC Vive basestations. The nice thing aspect of Hubs is that you don’t need a fancy headset to join, since it is possible to join via your browser or your phone. Me (Kimberly) has joined a Virtual Reality seminar at the beginning of the pandemic, organized by Roland Meertens of pinchofintelligence.com, and it was definitely a very interesting and fun experience. When giving a presentation, it really felt like people were paying attention and were engaged. So, we recently recreated our own flight-lab in VR (using Hub’s environment creator Spoke) and tested it out ourselves. This way you will be able to see our workplace as well!
Of course, we can imagine not everybody is waiting to go full VR. That is why we will combine the online tutorial with Discord, where we will make a video channel where we will stream the live demo and tutorial. It will also be possible to send messages that are visible in both the VR space and the Discord chat channel with Hub’s discord bot. You can choose where to follow the tutorial — fully in VR, or first discord and afterwards socialize in VR — that is totally up to you.
We still need to figure out the specifics, but if you register with your email we will send all the necessary information for the first session to you directly.
IOT conference Malmö
Now something else: tomorrow, namely Tuesday the 5th of October, we will also present at the IOT conference 2020 in Malmö. It is free for participants and it is still possible to register! Come and join if you can not wait to see us until the 4th of November.